


In the last article, we saw how Cockpit can manage storage devices. This article will focus on the networking functionalities within the UI. We’ll see how to manage the interfaces attached to the system in Cockpit. We’ll also look at the firewall and demonstrate how to assign a zone to an interface, and allow/deny services and ports.
To access these controls, verify the cockpit-networkmanager package is installed.
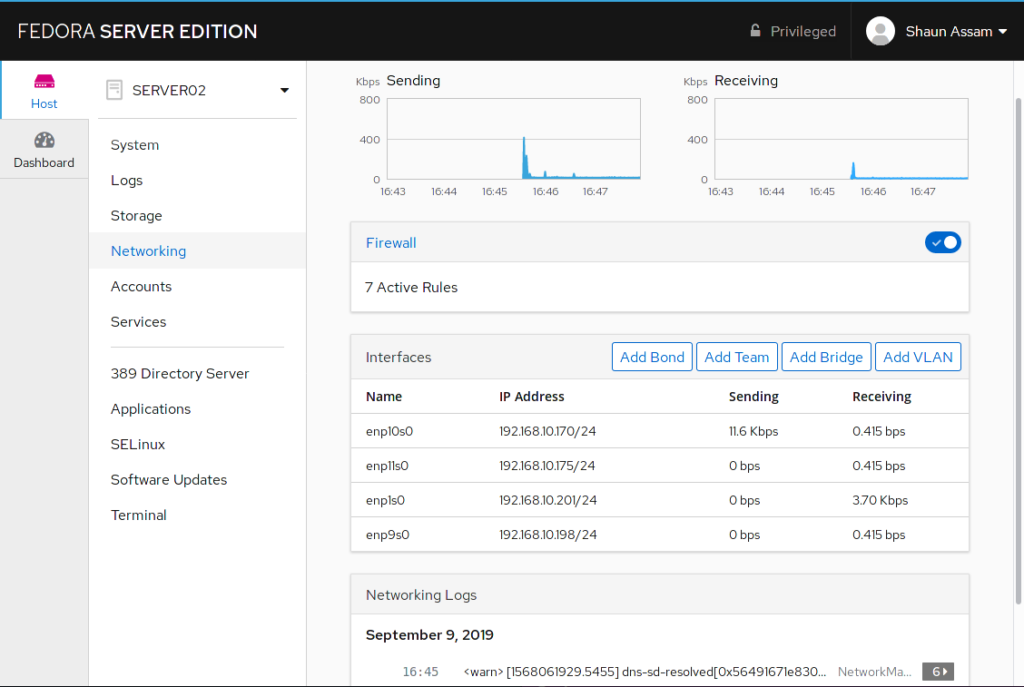
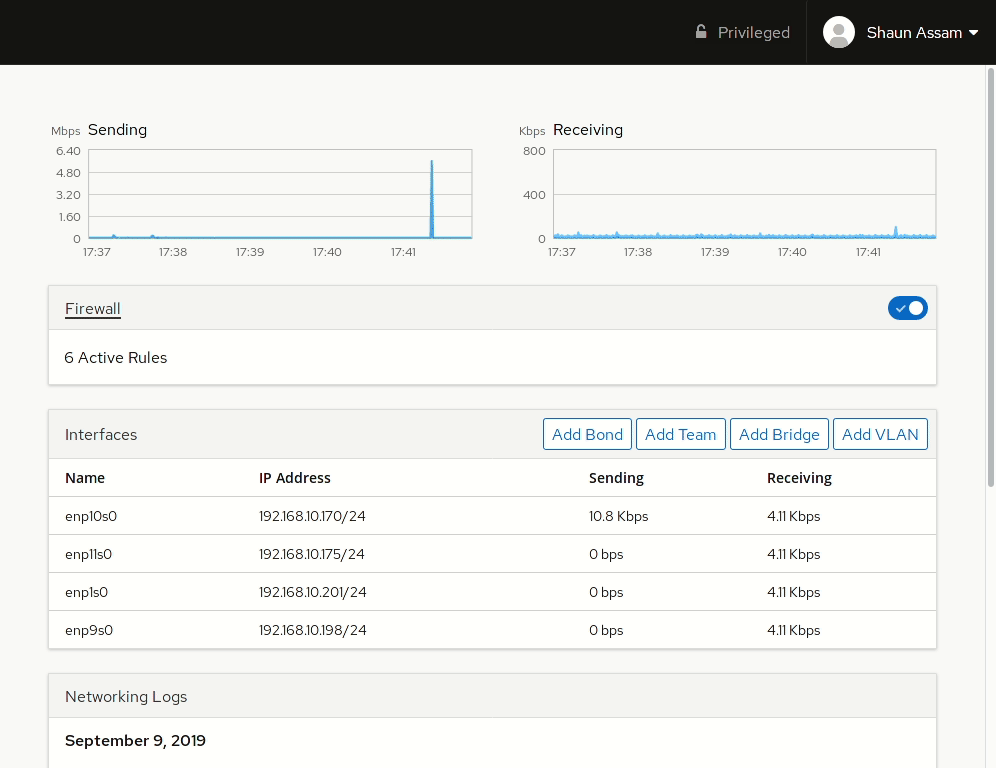
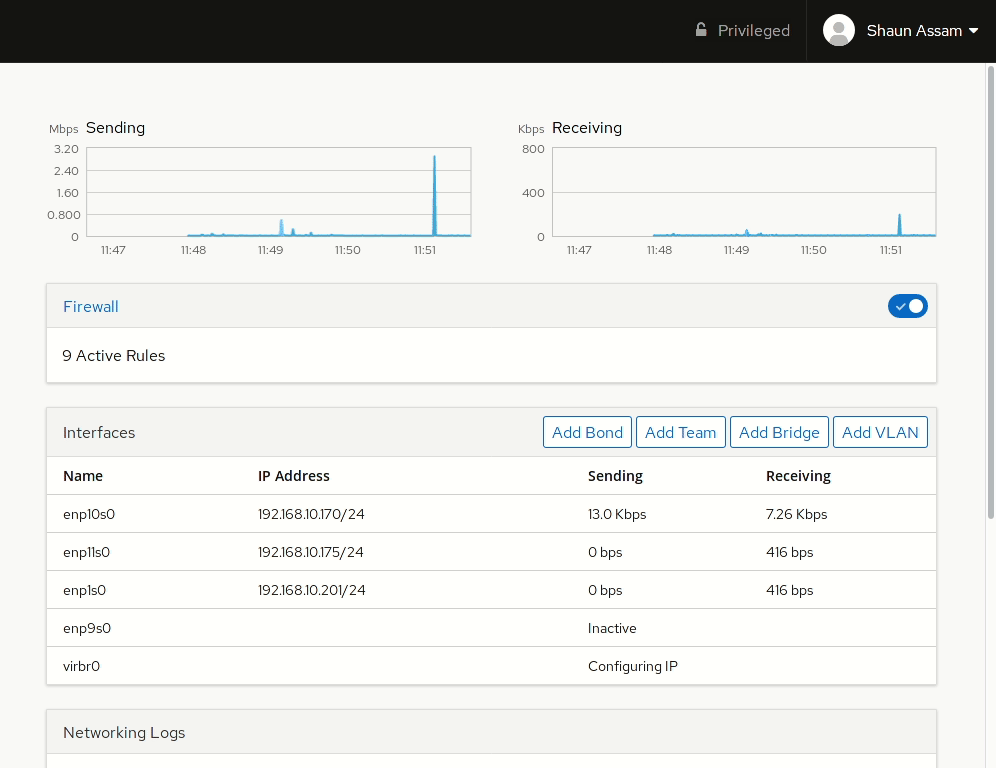
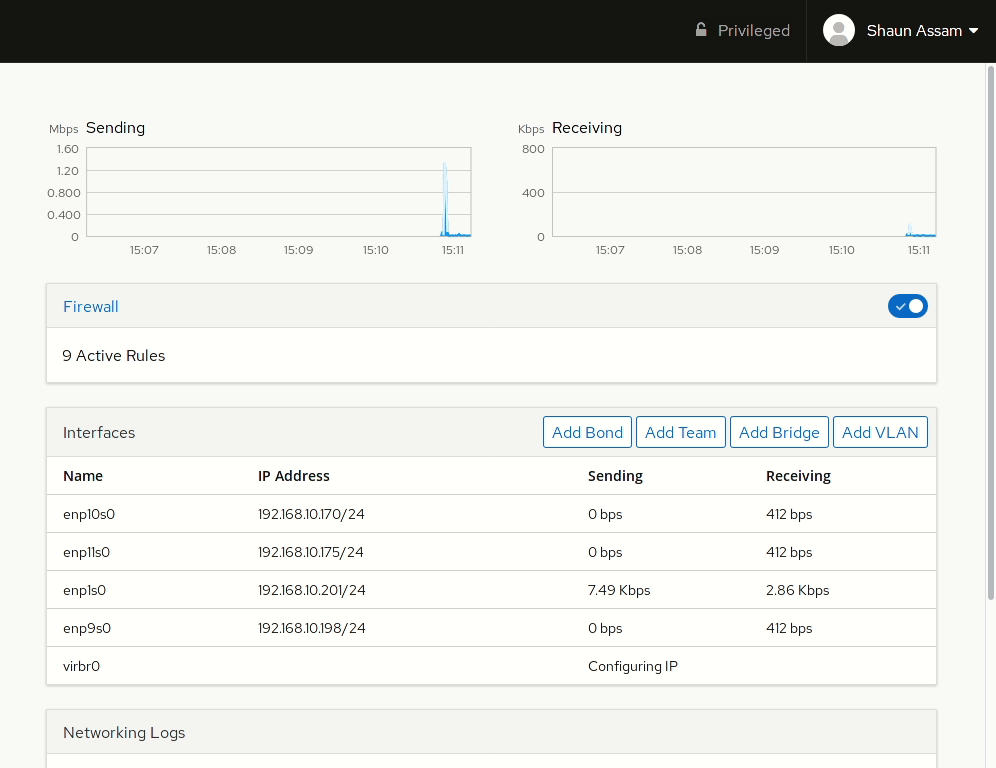
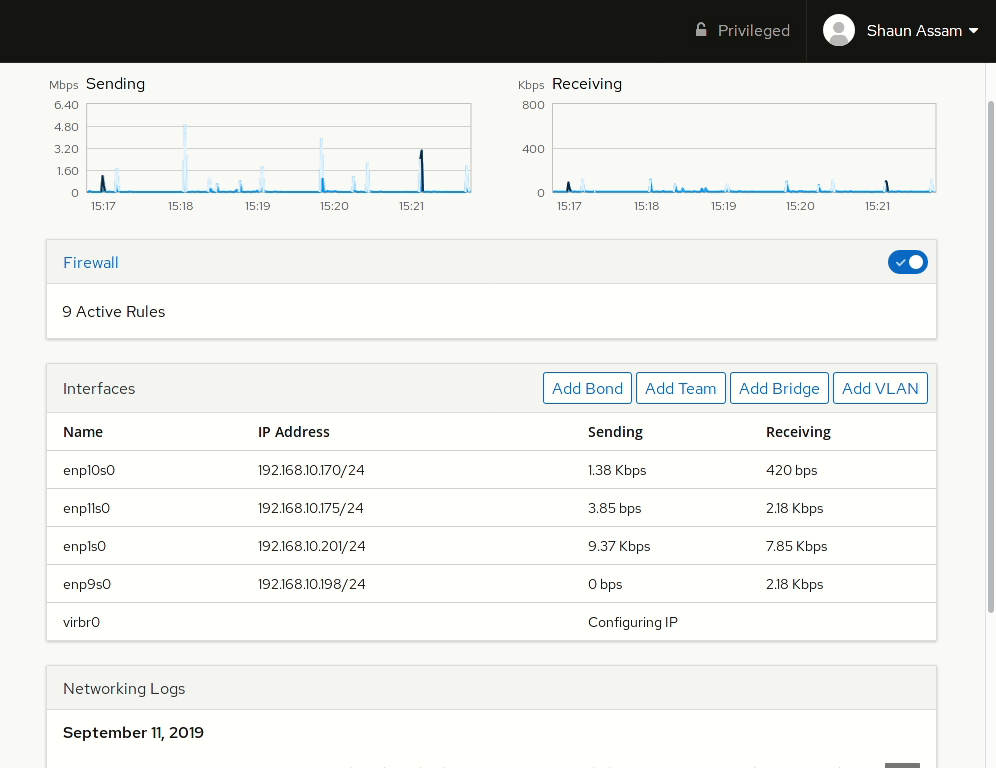
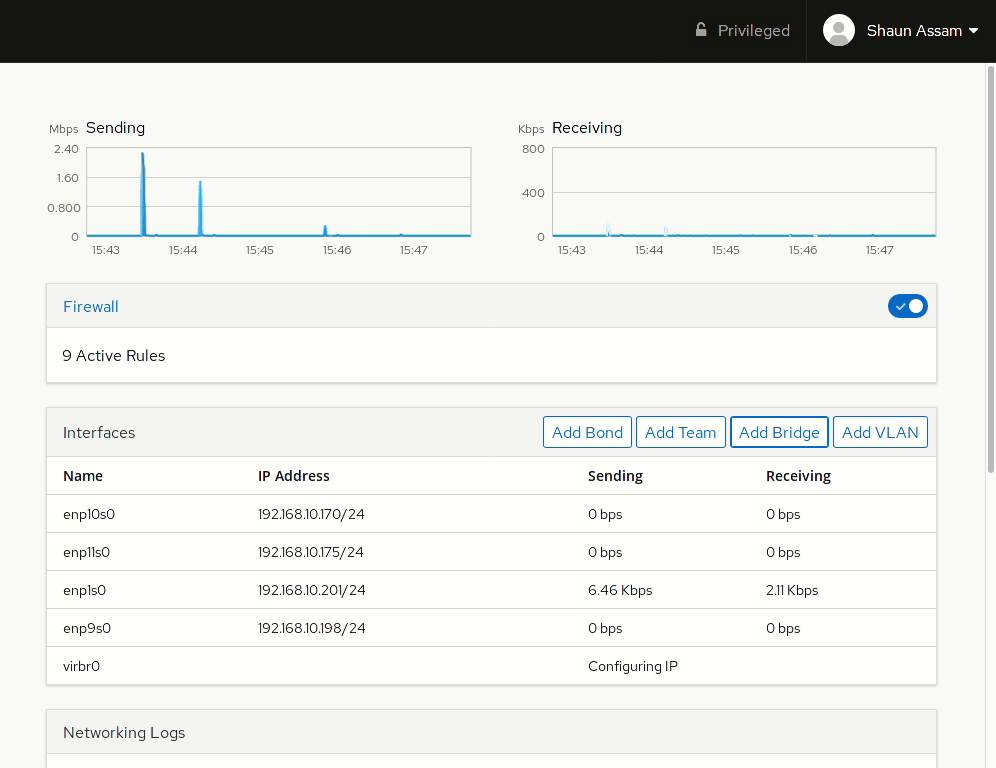
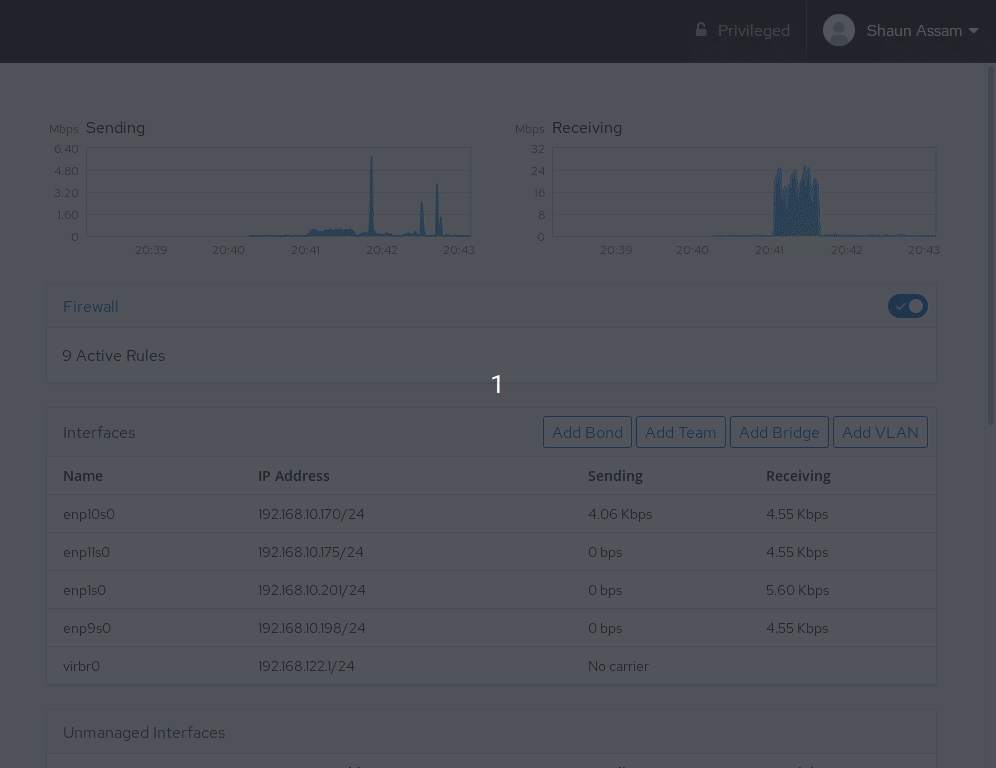
To start, log into the Cockpit UI and select the Networking menu option. As is consistent with the UI design we see performance graphs at the top and a summary of the logs at the bottom of the page. Between them are the sections to manage the firewall and interface(s).
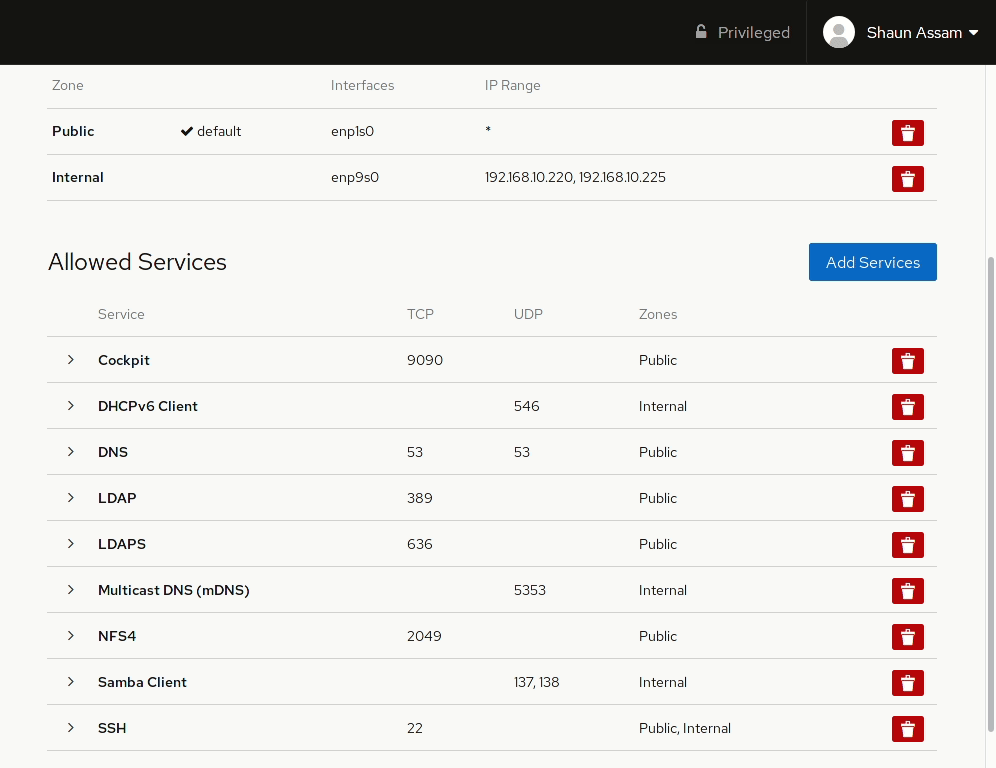
Firewall
Cockpit’s firewall configuration page works with FirewallD and allows admins to quickly configure these settings. The page has options for assigning zones to specific interfaces, as well as a list of services configured to those zones.
Adding a zone
Let’s start by configuring a zone to an available interface. First, click the Add Zone button. From here you can select a pre-configured or custom zone. Selecting one of the zones will display a brief description of that zone, as well as the services, or ports, allowed, or opened, in that zone. Select the interface you want to assign the zone to. Also, there’s the option to configure the rules to apply to the Entire Subset, or you can specify a Range of IP addresses. In the example below, we add the Internal zone to an available network card. The IP range can also be configured so the rule is only applied to the specified addresses.
Adding and removing services/ports
To allow network access to services, or open ports, click the Add Services button. From here you can search (or filter) for a service, or manually enter the port(s) you would like to open. Selecting the Custom Ports option provides options to enter the port number or alias into the TCP and/or UDP fields. You can also provide an optional name to label the rule. In the example below, the Cockpit service/socket is added to the Internal zone. Once completed, click the Add Services, or Add Ports, button. Likewise, to remove the service click the red trashcan to the right, select the zone(s), and click Remove service.
For more information about using Cockpit to configure your system’s firewall, visit the Cockpit project’s Github page.
Interfaces
The interfaces section displays both physical and virtual/logical NICs assigned to the system. From the main screen we see the name of the interface, the IP address, and activity stats of the NIC. Selecting an interface will display IP related information and options to manually configure them. You can also choose to have the network card inactive after a reboot by toggling the Connect automatically option. To enable, or disable, the network interface, click the toggle switch in the top right corner of the section.
Bonding
Bonding network interfaces can help increase bandwidth availability. It can also serve as a redundancy plan in the event one of the NIC’s fail.
To start, click the Add Bond button located in the header of the Interfaces section. In the Bond Settings overlay, enter a name and select the interfaces you wish to bond in the list below. Next, select the MAC Address you would like to assign to the bond. Now select the Mode, or purpose, of the bond: Round Robin, Active Backup, Broadcast, &c. (the demo below shows a complete list of modes.)
Continue the configuration by selecting the Primary NIC, and a Link Monitoring option. You can also tweak the Monitoring Interval, and Link Up Delay and Link Down Delay options. To finish the configuration, click the Apply button. We’re taken back to the main screen, and the new bonded interface we just created is added to the list of interfaces.
From here we can configure the bond like any other interface. We can even delve deeper into the interface’s settings for the bond. As seen in the example below, selecting one of the interfaces in the bond’s settings page provides details pertaining to the interface link. There’s also an added option for changing the bond settings. To delete the bond, click the Delete button.
Teaming
Teaming, like bonding, is another method used for link aggregation. For a comparison between bonding and teaming, refer to this chart. You can also find more information about teaming on the Red Hat documentation site.
As with creating a bond, click the Add Team button. The settings are similar in the sense you can give it a name, select the interfaces, link delay, and the mode or Runner as it’s referred to here. The options are similar to the ones available for bonding. By default the Link Watch option is set to Ethtool, but also has options for ARP Ping, and NSNA Ping.
Click the Apply button to complete the setup. It will also return you to the main networking screen. For further configuration, such as IP assignment and changing the runner, click the newly made team interface. As with bonding, you can click one of the interfaces in the link aggregation. Depending on the runner, you may have additional options for the Team Port. Click the Delete button from the screen to remove the team.
Bridging
From the article, Build a network bridge with Fedora:
“A bridge is a network connection that combines multiple network adapters.”
One excellent example for a bridge is combining the physical NIC with a virtual interface, like the one created and used for KVM virtualization. Leif Madsen’s blog has an excellent article on how to achieve this in the CLI. This can also be accomplished in Cockpit with just a few clicks. The example below will accomplish the first part of Leif’s blog using the web UI. We’ll bridge the enp9s0 interface with the virbr0 virtual interface.
Click the Add Bridge button to launch the settings box. Provide a name and select the interfaces you would like to bridge. To enable Spanning Tree Protocol (STP), click the box to the right of the label. Click the Apply button to finalize the configuration.
As is consistent with teaming and bonding, selecting the bridge from the main screen will display the details of the interface. As seen in the example below, the physical device takes control and the virtual interface will adopt that device’s IP address.
Select the individual interface in the bridge’s detail screen for more options. And once again, click the Delete button to remove the bridge.
Adding VLANs
Cockpit allows admins to create VLANs, or virtual networks, using any of the interfaces on the system. Click the Add VLAN button and select an interface. Furthermore, in the Parent drop-down list, assign the VLAN ID, and if you like, give it a new name. By default the name will be the same as the parent followed by a dot and the ID. For example, interface enp11s0 with VLAN ID 9 will result in enp11s0.9). Click Apply to save the settings and to return to the networking main screen. Click the VLAN interface for further configuration. As always, click the Delete button to remove the VLAN.
As we can see, Cockpit can help admins with common network configurations when managing the system’s connectivity. In the next article, we’ll explore how Cockpit handles user management and peek into the add-on 389 Directory Servers.

0xSheepdog
2019-Sept-21 the package ‘cockpit-firewalld’ does not seem to be in the fedora or fedora-modular repos…
[Edit: removed lengthy output]
Paul W. Frields
Thanks for the catch! Fixed this in the article.