
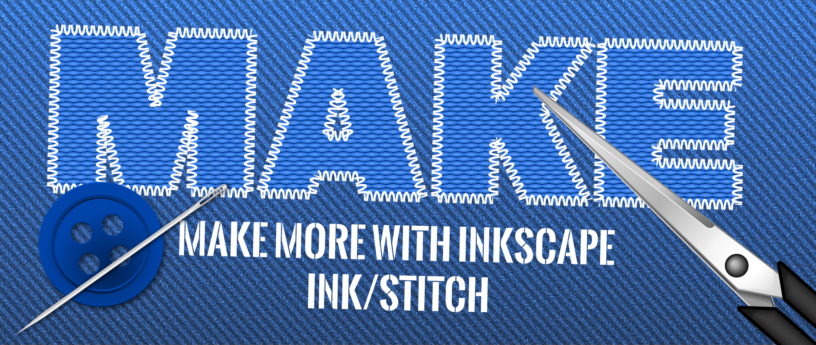

Inkscape, the most used and loved tool of Fedora’s Design Team, is not just a program for doing nice vector graphics. With vector graphics (in our case SVG) a lot more can be done. Many programs can import this format. Also, Inkscape can do a lot more than just graphics. The first article of this series showed how to produce GCode with Inkscape. This article will examine another Inkscape extension – Ink/Stitch. Ink/Stitch is an extension for designing embroidery with Inkscape.
DIY Embroidery
In the last few years the do-it-yourself or maker scene has experienced a boom. You could say it all began with the inexpensive option of 3D printing; followed by also not expensive CNC machines and laser cutters/engravers. Also the prices for more “traditional” machines such as embroidery machines have fallen during recent years. Home embroidery machines are now available for 500 US dollars.
If you don’t want to or can’t buy one yourself, the nearest MakerSpace often has one. Even the prices for commercial single-head embroidery machines are down to 5,000 US dollars. They are an investment that can pay off quickly.
Software for Embroidery Design
Some of the home machines include their own software for designing embroidery. But most, if not all, of these applications are Windows-only. Also, the most used manufacturer-independent software of this area – Embird – is only available for Windows. But you could run it in Wine.
Another solution for Linux – Embroidermodde – is not really developed anymore. And this is after having had a fundraising campaign.
Today, only one solution is left – Ink/Stitch
Open Source and Embroidery Design
Ink/Stitch started out using libembroidery. Today pyembroidery is used. The manufacturers can’t be blamed for the prices of these machines and the number of Linux users. It is hardly worthwhile to develop applications for Linux.
The Embroidery File Format Problem
There is a problem with the proliferation of file formats for embroidery machines; especially among manufacturers that cook their own file format for their machines. In some cases, even a single manufacturer may use several different file formats.
- .10o – Toyota embroidery machines
- .100 – Toyota embroidery machines
- .CSD – Poem, Huskygram, and Singer EU embroidery home sewing machines.
- .DSB – Baruda embroidery machines
- .JEF – MemoryCraft 10000 machines.
- .SEW – MemoryCraft 5700, 8000, and 9000 machines.
- .PES – Brother and Babylock embroidery home sewing machines.
- .PEC – Brother and Babylock embroidery home sewing machines.
- .HUS – Husqvarna/Viking embroidery home sewing machines.
- .PCS – Pfaff embroidery home sewing machines.
- .VIP – old Pfaff format also used by Husqvarna machines.
- .VP3 – newer Pfaff embroidery home sewing machines.
- .DST – Tajima commercial embroidery sewing machines.
- .EXP – Melco commercial embroidery sewing machines.
- .XXX – Compucon, Singer embroidery home sewing machines.
- .ZSK – ZSK machines on the american market
This is just a small selection of the file formats that are available for embroidery. You can find a more complete list here. If you are interested in deeper knowledge about these file formats, see here for more information.
File Formats of Ink/Stitch
Ink/Stitch can currently read the following file formats: 100, 10o, BRO, DAT, DSB, DST, DSZ, EMD, EXP, EXY, FXY, GT, INB, JEF, JPX, KSM, MAX, MIT, NEW, PCD, PCM, PCQ, PCS, PEC, PES, PHB, PHC, SEW, SHV, STC, STX, TAP, TBF, U01, VP3, XXX, ZXY and also GCode as TXT file.
For the more important task of writing/saving your work, Ink/Stitch supports far fewer formats: DST, EXP, JEF, PEC, PES, U01, VP3 and of course SVG, CSV and GCode as TXT
Besides the problem of all these file formats, there are other problems that a potential stitch program has to overcome.
Working with the different kinds of stitches is one difficulty. The integration of tools for drawing and lettering is another. But why invent such a thing from scratch? Why not take an existing vector program and just add the functions for embroidery to it? That was the idea behind the Ink/Stitch project over three years ago.
Install Ink/Stitch
Ink/Stitch is an extension for Inkscape. Inkscape’s new functionality for downloading and installing extensions is still experimental. And you will not find Ink/Stitch among the extensions that are offered there. You must download the extension manually. After it is downloaded, unzip the package into your directory for Inkscape extensions. The default location is ~/.config/inkscape/extensions (or /usr/share/inkscape/extensions for system-wide availability). If you have changed the defaults, you may need to check Inkscape’s settings to find the location of the extensions directory.
Customization – Install Add-ons for Ink/Stitch
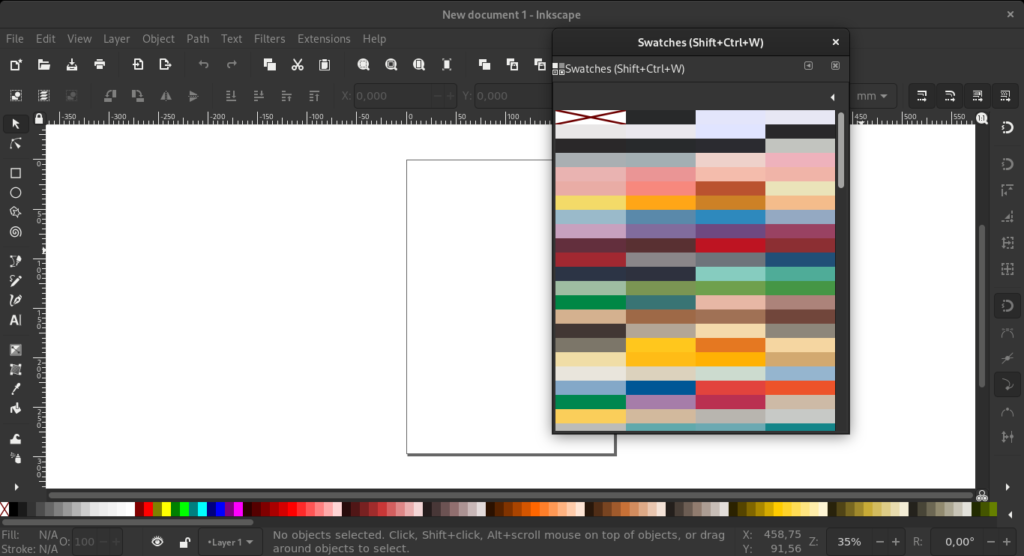
The Ink/Stitch extension provides a function called Install Add-Ons for Inkscape, which you should run first.
The execution of this function – Extensions > Ink/Stitch > Thread Color Management > Install thread color palettes for Inkscape – will take a while.
Do not become nervous as there is no progress bar or a similar thing to see.
This function will install 70 color palettes of various yarn manufacturers and a symbol library for Ink/Stitch.
If you use the download from Github version 2.0.0, the ZIP-file contains the color palette files. You only need to unpack them into the right directory (~/.config/inkscape/palettes/). If you need a hoop template, you can download one and save it to ~/.config/inkscape/templates.
The next time you start Inkscape, you will find it under File > New From Template.
Lettering with Ink/Stitch
The way that is by far the easiest and most widely used, is to get a embroidery design using the Lettering function of Ink/Stitch. It is located under Extensions > Ink/Stitch > Lettering. Lettering for embroidery is not simple. What you expect are so called satin stitched letters. For this, special font settings are needed.
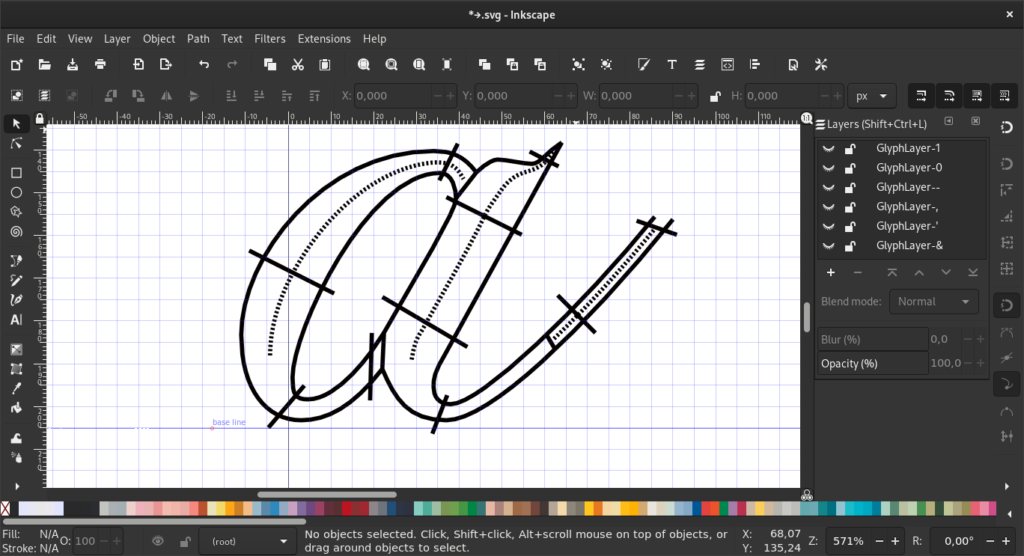
You can convert paths to satin stitching. But this is more work intensive than using the Lettering function. Thanks to the work of an active community, the May 2021 release of Ink/Stitch 2.0 brought more predefined fonts for this. An English tutorial on how to create such fonts can be found here.
Version 2.0 also brings functions (Extensions > Ink/Stitch > Font Management) to make managing these kinds of fonts easier. There are also functions for creating these kinds of fonts. But you will need knowledge about font design with Inkscape to do so. First, you create an an entire SVG font. It is then feed through a JSON script which converts the SVG font into the type of files that Ink/Stitch’s font management function works with.
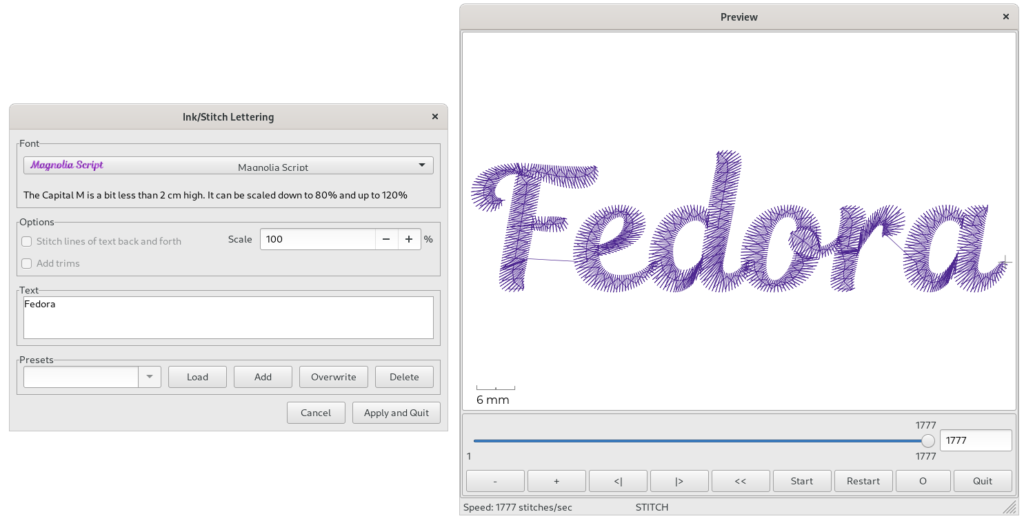
The function will open a dialogue window where you just have to put in your text, choose the size and font, and then it will render a preview.
Embroider Areas/Path-Objects
The easiest thing with Ink/Stitch, is to embroider areas or paths. Just draw your path. When you use shapes then you have to convert them and then run Extensions > Ink/Stitch > Fill Tools > Break Apart Fill Objects…
This breaks apart the path into its different parts. You have to use this function. The Path > Break apart function of Inkscape won’t work for this.
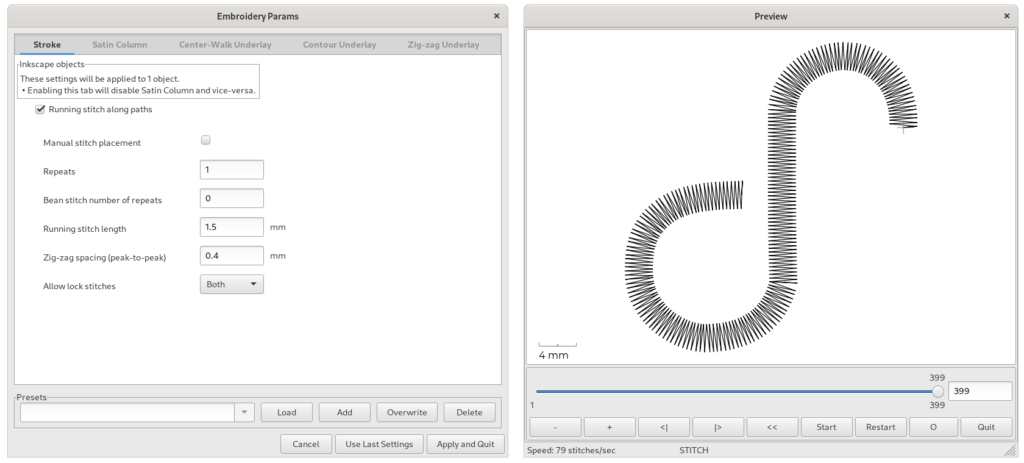
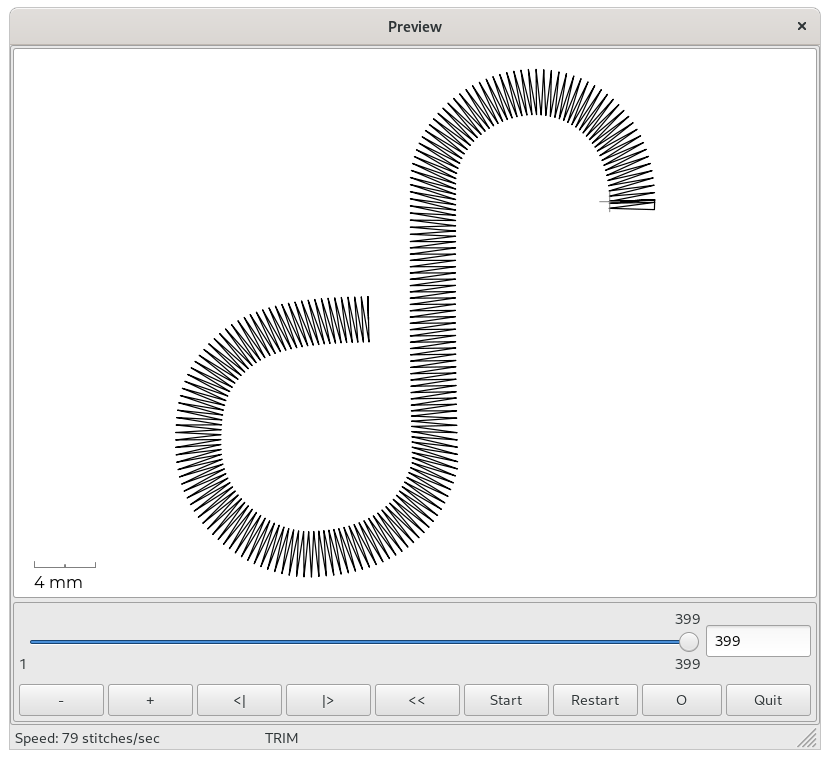
Next, you can run Ink/Stitch’s built-in simulator: Extensions > Ink/Stitch > Visualise and Export > Simulator/Realistic Preview.
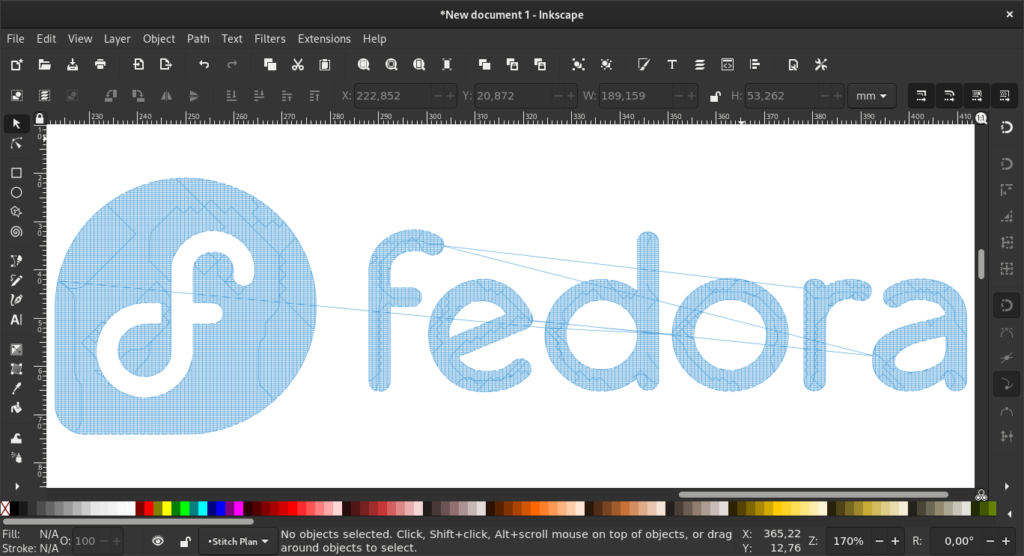
Be careful with the simulator. It takes a lot system resources and it will take a while to start. You may find it easier to use the function Extensions > Ink/Stitch > Visualise and Export > Stitch Plan Preview. The latter renders the threading of the embroidery outside of the document.
Simple Satin and Satin Embroidery
Ink/Stitch will convert each stroke with a continuous line (no dashes) to what they call Zig-Zag or Simple Satin. Stitches are created along the path using the stroke width you have specified. This will work as long there aren’t too many curves on the path.
This is simple. But it is by far not the best way. It is better to use the Satin Tools for this. The functions for the Satin embroidery can be found under Extensions > Satin Tools. The most important is the conversion function which converts paths to satin strokes.
You can also reverse the stitch direction using Extensions > Satin Tools > Flip Satin Column Rails. This underlines the 3D effect satin embroidery gets, especially when you make puff embroidery. For machines that have this capability, you can also set the markings for the trims of jump stitches. To visualize these trims, Ink/Stitch uses the symbols that where installed from its own symbol library.
The Ink/Stitch Stitch Library
What is called the stitch library is simply the kind of stitches that Ink/Stitch can create. The Fill Stitch and Zig-Zag/Satin Stitch have already been introduced. But there are more.
- Running Stitches: These are used for doing outline designs. The running stitch produces a series of small stitches following a line or curve. Each dashed line will be converted into a Running Stitch. The size of the dashes does not matter.

- Bean Stitches: These can also be used for outline designs or add details to a design. The bean stitch describes a repetition of running stitches back and forth. This results in thicker threading.

- Manual Stitch: In this mode, Ink/Stitch will use each node of a path as a needle penetration point; exactly as they are placed.

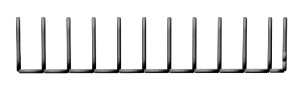
- E-Stitch: The main use for e-stitch is a simple but strong cover stitch for applique items. It is often used for baby cloths because their skin tends to be more sensitive.
Embroidery Thread List
Some embroidery machines (especially those designed for commercial use) allow different threads to be fitted in advance according to what will be needed for the design. These machines will automatically switch to the right thread when needed. Some file formats for embroidery support this feature. But some do not. Ink/Stitch can apply custom thread lists to an embroidery design.
If you want to work on an existing design, you can import a thread list: Extensions > Ink/Stitch > Import Threadlist. Thread lists can also be exported: Save As different file formats as *.zip. You can also print them: Extensions > Ink/Stitch > Visualise and Export > Print PDF.
Conclusion
Writing software for embroidery design is not easy. Many functions are needed and diverse (sometimes closed-source) file formats make the task difficult. Ink/Stitch has managed to create a useful tool with many functions. It enables the user to get started with basic embroidery design. Some things could be done a little better. But it is definitely a good tool as-is and I expect that it will become better over time. Machine embroidery can be an interesting hobby and with Ink/Stitch the Fedora Linux user can begin designing breathtaking things.

svsv sarma
Inkscape capabilities are really wonderfull and well explained.
thank you.
Sirko Kemter
your welcome, yes Inkscape is a massive tool not just for graphical artists
AC2
Fascinating!
jonas bloch riisgaard
Is it possible to upload scanned drawings ( .jpg, .png, ,xcf ) into a common database so other users can use it for their free creativity I can support by sharing my artwork like programmers do by their work of open source application developing Ink Scape.
Sirko Kemter
Why as raster image? If we talk about Inkscape we talk about vector graphics, and to upload graphics in this format is a bigger win for the one who want to use nice graphics but have not very good skills in drawing themself.
There is actually a platform, which was once foundet by one of the Inkscape developer and was long time integrated in Inkscape with an download function – openclipart.org. So I recommend SVG and this platform
sharon TR
This looked really promising until I realized it the file format I needed wasn’t supported due to an ancient machine. 😛
I do wonder if there are enough similarities between 3d fonts used for like cnc and embroidery fonts, that the fonts could be more standardized.
Sirko Kemter
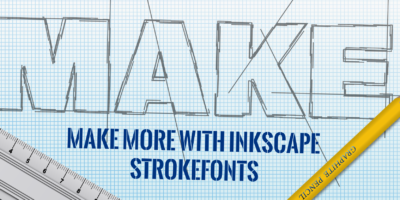
What you mean by 3D fonts? There is a difference between this satin stitched ones and other fonts. Wait for the next article in this row, this one will be about a kind of special fonts for laser engraver & Co. We talk then about single line fonts or stick fonts/stroke fonts. But they are not 3 dimensional at least not what I think this means. So you have to explain a bit more what it means
Sirko Kemter
I forgot which format is this, which is not supported?
Alvaro
DIY CNC Routers pre-dates the 3D printer, but, it was known in the electronic hobby community and not so much outside that.
I remember using EMC2 in 2006
http://linuxcnc.org/docs/2.4/html/install_installing_emc2.html
But the 3D printer made it’s way to the masses, but the community was always there.