


Introduction
Ready to run your own Wikipedia-style knowledge repository on Fedora, Centos or RHEL?
Hold on tight! We are about to walk you through the steps for installing MediaWiki on the most innovative Linux distro out there.
Whether you are a Linux geek or a Linux noob looking to get started with MediaWiki, this step-by-step guide will take you from start to finish, pronto!
MediaWiki ?
MediaWiki facilitates collaboration and documentation in many reputable organizations around the world. Some worthy of mention are:
- Moodle
- Blender,
- BogleHeads
- National Gallery of Arts
- OpenStreetMaps
- OpenOffice
- University of Buffalo
- The Nielsen Company.
MediaWiki is used in place of Microsoft’s SharePoint, as well. It is preferred for its less complicated RBAC (Role-Based Access Control) system, and $0.00 licensing cost. Sharepoint licensing costs between $25,000 – $150,000 .
Prerequisites
- Fedora, Centos or RHEL server. This guide uses Centos Stream 10. Fedora, Centos, and RHEL servers are interchangeable.
- A user account with sudo privileges on the server.
- Command line competency.
- Docker experience is useful but not required.
Step 1: Update the server.
$ sudo dnf update; sudo dnf upgrade -y
Step 2: Install Podman
$ sudo dnf install podman
This tutorial uses podman > 5.3. Ensure a compatible version is installed with
$ podman -v
podman version 5.4
Step 3: Pull MediaWiki container from Docker hub.
$ podman pull docker.io/mediawiki:lts
Trying to pull docker.io/library/mediawiki:latest...
Getting image source signatures
Copying blob 46506c43b76b done   |
Copying blob 7cf63256a31a done   |
Copying blob f7e553522295 done   |
Copying blob ccca7c183c0b done   |
Copying blob 41bfba87aa2a done   |
Copying blob 904933496485 done   |
Copying blob 7906c5c5b56e done   |
Copying blob 5f93253b2de6 done   |
Copying blob 0230624a769b done   |
Copying blob 6beeb76481f6 done   |
Copying blob 012fd53ee67a done   |
Copying blob a3339e6f62b1 done   |
Copying blob b1eb0357bfab done   |
Copying blob 4f4fb700ef54 done   |
Copying blob 675bda9db3e3 done   |
Copying blob c0a6d25b98b0 done   |
Copying blob 417fd4c91734 done   |
Copying blob 3c7453788306 done   |
Copying blob ce01c7644913 done   |
Copying blob ebe12d15cfb9 done   |
Copying blob 35fe3b70b606 done   |
Copying config 346df66094 done   |
Writing manifest to image destination
346df660949efc448741705767a5db05a290e9d870c354ae93edc0e0291f7f03
Step 4: Pull Mariadb container from Docker hub.
$ podman pull docker.io/mariadb:lts
Trying to pull docker.io/library/mariadb:latest...
Getting image source signatures
Copying blob 597f7afe50fe done   |
Copying blob 5a7813e071bf done   |
Copying blob 5db80086e4da done   |
Copying blob 901fe9394c00 done   |
Copying blob 43eb19e1b102 done   |
Copying blob bdecd990c29c done   |
Copying blob e1dede558384 done   |
Copying blob 5c3a22df929b done   |
Copying config a914eff5d2 done   |
Writing manifest to image destination
a914eff5d2eb4c650a4e787e453d52a4ffba977632bd624cc6e63d0c9c4c2d65
Step 5: Run Mariadb and Mediawiki containers in a pod.
5.1. Create a pod
A pod is a group of containers which share the same network, and/or resources.
Create a pod named wikipod:
$ podman pod create -n wikipod -p 8080:80
5.2. Run mariadb in wikipod
$ podman run --detach --name mariadb --env MARIADB_ROOT_PASSWORD=mediawiki --pod wikipod mariadb:lts
5.3. Run mediawiki in wikipod
$ podman run --detach --name mediawiki --pod wikipod mediawiki:lts
5.4 Check mariadb, mediawiki containers are running.
$  podman ps
CONTAINER ID  IMAGE                                    COMMAND               CREATED         STATUS         PORTS                           NAMES
936f315a87be  localhost/podman-pause:5.4.0-1739318400                        52 seconds ago  Up 31 seconds  0.0.0.0:8080->80/tcp            752fc149d017-infra
2a4ada8a898d  docker.io/library/mediawiki:lts          apache2-foregroun...  30 seconds ago  Up 31 seconds  0.0.0.0:8080->80/tcp            mediawiki
7d1c7a41ea83  docker.io/library/mariadb:lts            mariadbd              14 seconds ago  Up 15 seconds  0.0.0.0:8080->80/tcp, 3306/tcp  mariadb
Voila! Mariadb and mediawiki containers are up and running.
Step 6: Complete Mediawiki installation.
6.1 Go to http://<Your-Server-IP>:8080.
Server IP for this installation is 127.0.0.1.
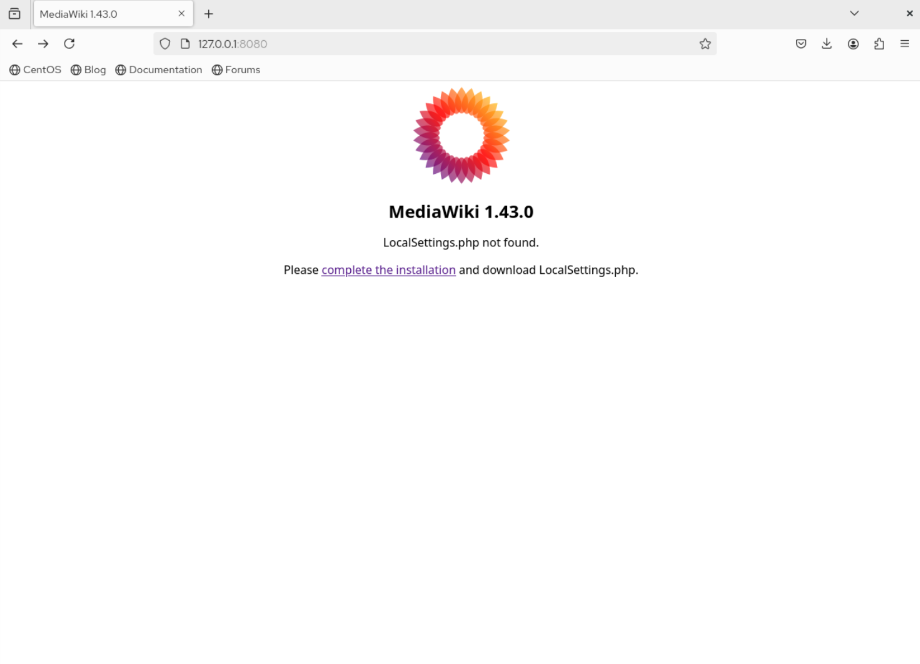
Click complete the installation, and follow the prompt to configure mariadb.
6.2 Follow the prompt to configure the database.
6.3. Fill in database credentials.
The credentials used for this demonstration installation are as follows (adjust this to suit your needs):
| database username | root |
| database password | mediawiki |
| database name | wiki |
| database host | 127.0.0.1 |
| wikimedia admin username | admin |
| wikimedia admin password | fedora magazine |
| wiki name | fedora magazine |
6.4 Database setup complete.
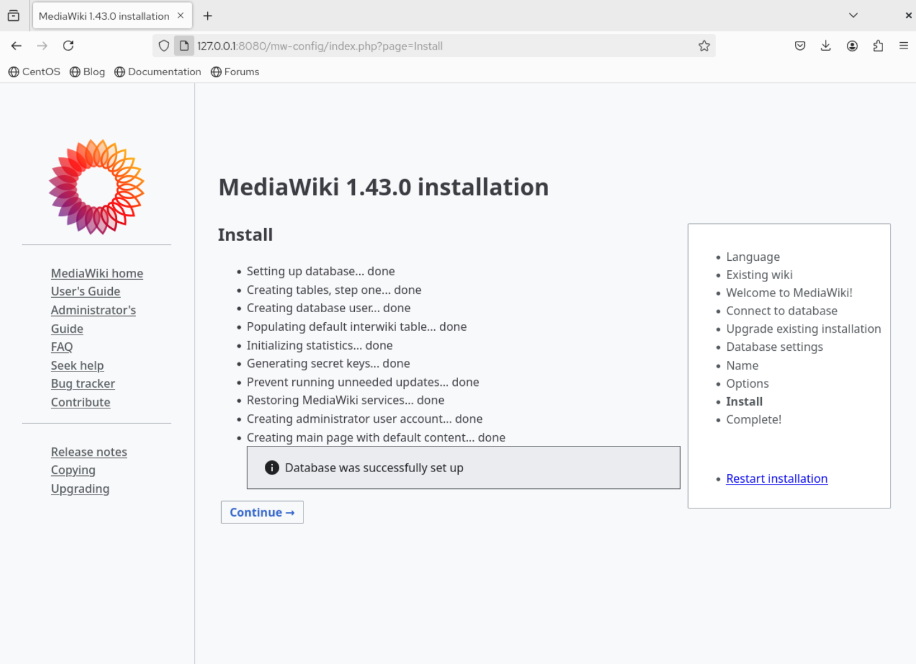
Once database setup is complete, click continue to complete mediawiki installation
6.5 Mediawiki setup complete.
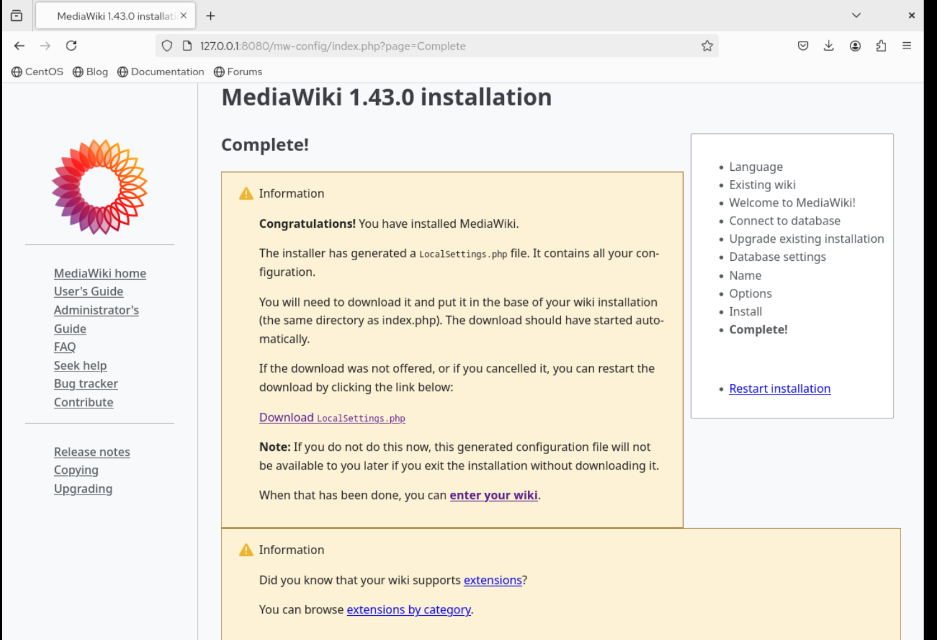
At this point we have accomplished the following:
- Mariadb, successful configuration for mediawiki
- Mediawiki, successful installation.
Now the LocalSettings.php file must be copied to the directory where mediawiki is installed.
7. Copy LocalSettings.php to mediawiki installation directory.
7.1. Get mediawiki container id.
The mediawiki container id for this installation is 2a4ada8a898d. For your reference, go to section 5.4, above.
7.2 Copy LocalSettings.php into mediawiki container using podman.
$ podman cp ~/Downloads/LocalSettings.php 2a4ada8a898d:/var/www/html

CrunchyCrunch
Where is the reverse proxy :p
Dave Truster
Great article,
I am no podman expert, but wouldn’t it be better to make use of Quadlet instead of running (old-fashioned) “podman run” commands?
Linux Revolution
I’d be interested in using the Quadlet as well. If anyone care to modify this tutorial using Quadlets that would be most helpful since Quadlets are integrated with systemd services. The above doesn’t allow automatic startup if using from a “user” as oppose to “system” podman installs.
Dave Truster
i suggest you to start with this tutorial and then create Quadlets by using podlet.
See https://github.com/containers/podlet for more information
a good article about Quadlet can be found here: https://www.redhat.com/en/blog/quadlet-podman
Dave Truster
To get started with quadlet , simply create/copy these three files found here: https://github.com/TrusterX/mediawiki-quadlet
Step 1: Place them into ~/.config/containers/systemd (you’ll have to create this directory )
Step 2: run ‘systemctl –user daemon-reload’
Step 3: run ‘systemctl –user start wikipod-pod.service’
now go ahead with Step 6.
it’s that easy, isn’t it?
Mario Atairu
Quadlet has been merged into podman.
See: https://github.com/thebionicbison
Dave Truster
not sure about your answer. The link points to your Github Profile …
Hugh
Thanks for this article. I’m interested but only got to the first step.
Step 1: “sudo dnf update; sudo dnf upgrade -y” doesn’t make sense to me.
“update” is a (no longer documented) synonym for “upgrade”.
upgrade should be idempotent: no point in doing it twice.
Instead of connecting the two commands with “;”, use “&&” since you would not wish to do the second if the first fails.
I never use -y since I want to eyeball what upgrade proposes to do before I OK it.
Mario Atairu
Thank you.
Eduard Lucena
Tested and working on Fedora Server, I changed the port to 8090, and it still works. Only comment, during the first configuration of DB, replace localhost with 127.0.0.1, it’s a known error on MariaDB connections
Rénich Bon Ćirić
Ah, this is a sad mislead. None of those containers run Fedora (inside). They run Debian/Ubuntu… 🙁
Mario Atairu
Containers are a form of abstraction. It should not matter, what OS runs within the container as long as you can access the functionality you need.
Barry
All the software is packaged as RPMs for Fedora.
Surprised you did not use the RPMs.
Eujenio
Awesome step-by-step guide.
Thank you, Mario.
Glenn Johnson
I had to install and configure apache before I could reach localhost:8080.
Did I miss something or do I misunderstand?
Either way, thank you for this short, interesting tutorial.