Fedora Workstation ships with a simple, yet capable screenshot utility that allows the user to take quick grabs of your desktop. If you are taking many screenshots in a session or want more control of how your screenshots are taken, you will want to take a look at Shutter.
Shutter is a feature-rich screenshot tool that has a bunch of useful features. Sessions let you easily take and save a group of screenshots. Advanced capture modes allow you to take screenshots of nested menus, tooltips, or specific workspaces. A built-in editor lets you tailor and tweak your screenshots.
Installing Shutter in Fedora Workstation
Shutter is available in the official Fedora repositories. You can find it in the Software application on Fedora Workstation. If you are more comfortable with the command line, use this command:
sudo dnf install shutter
Sessions in Shutter
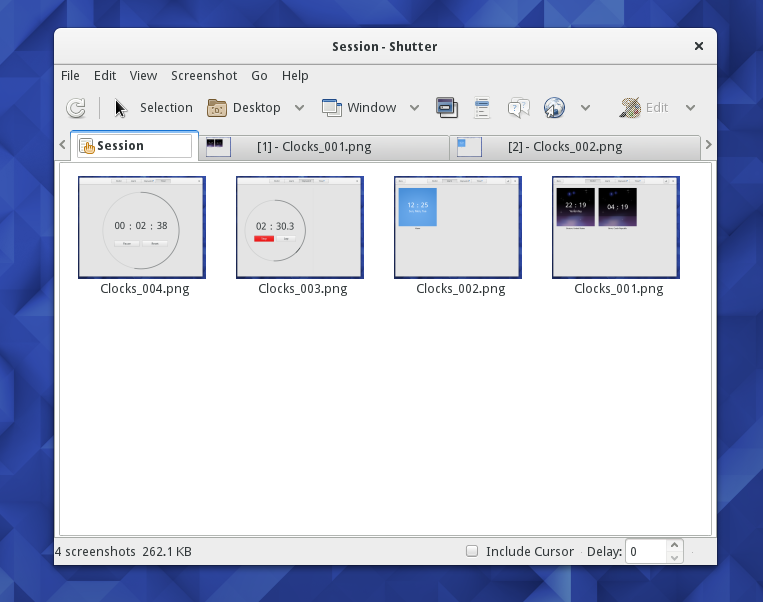
Fedora Workstation’s built-in screenshot tool is great for taking quick, one-off screenshots. If you are working on a project that requires you to take multiple screenshots, Shutter’s session concept will improve your workflow. Each screenshot you take with Shutter will be presented in the session tab so you can take multiple screenshots and easily keep track of the ones you have taken. You can then remove the ones you no longer need, edit them with the built-in editor, or run a filter over them all.
Shutter’s preferences also allow you to specify how to name your screenshots, including options like the window name or a counter. Then, you can name all your files in a session logically and automatically when you take the shot.
Redo the last screenshot
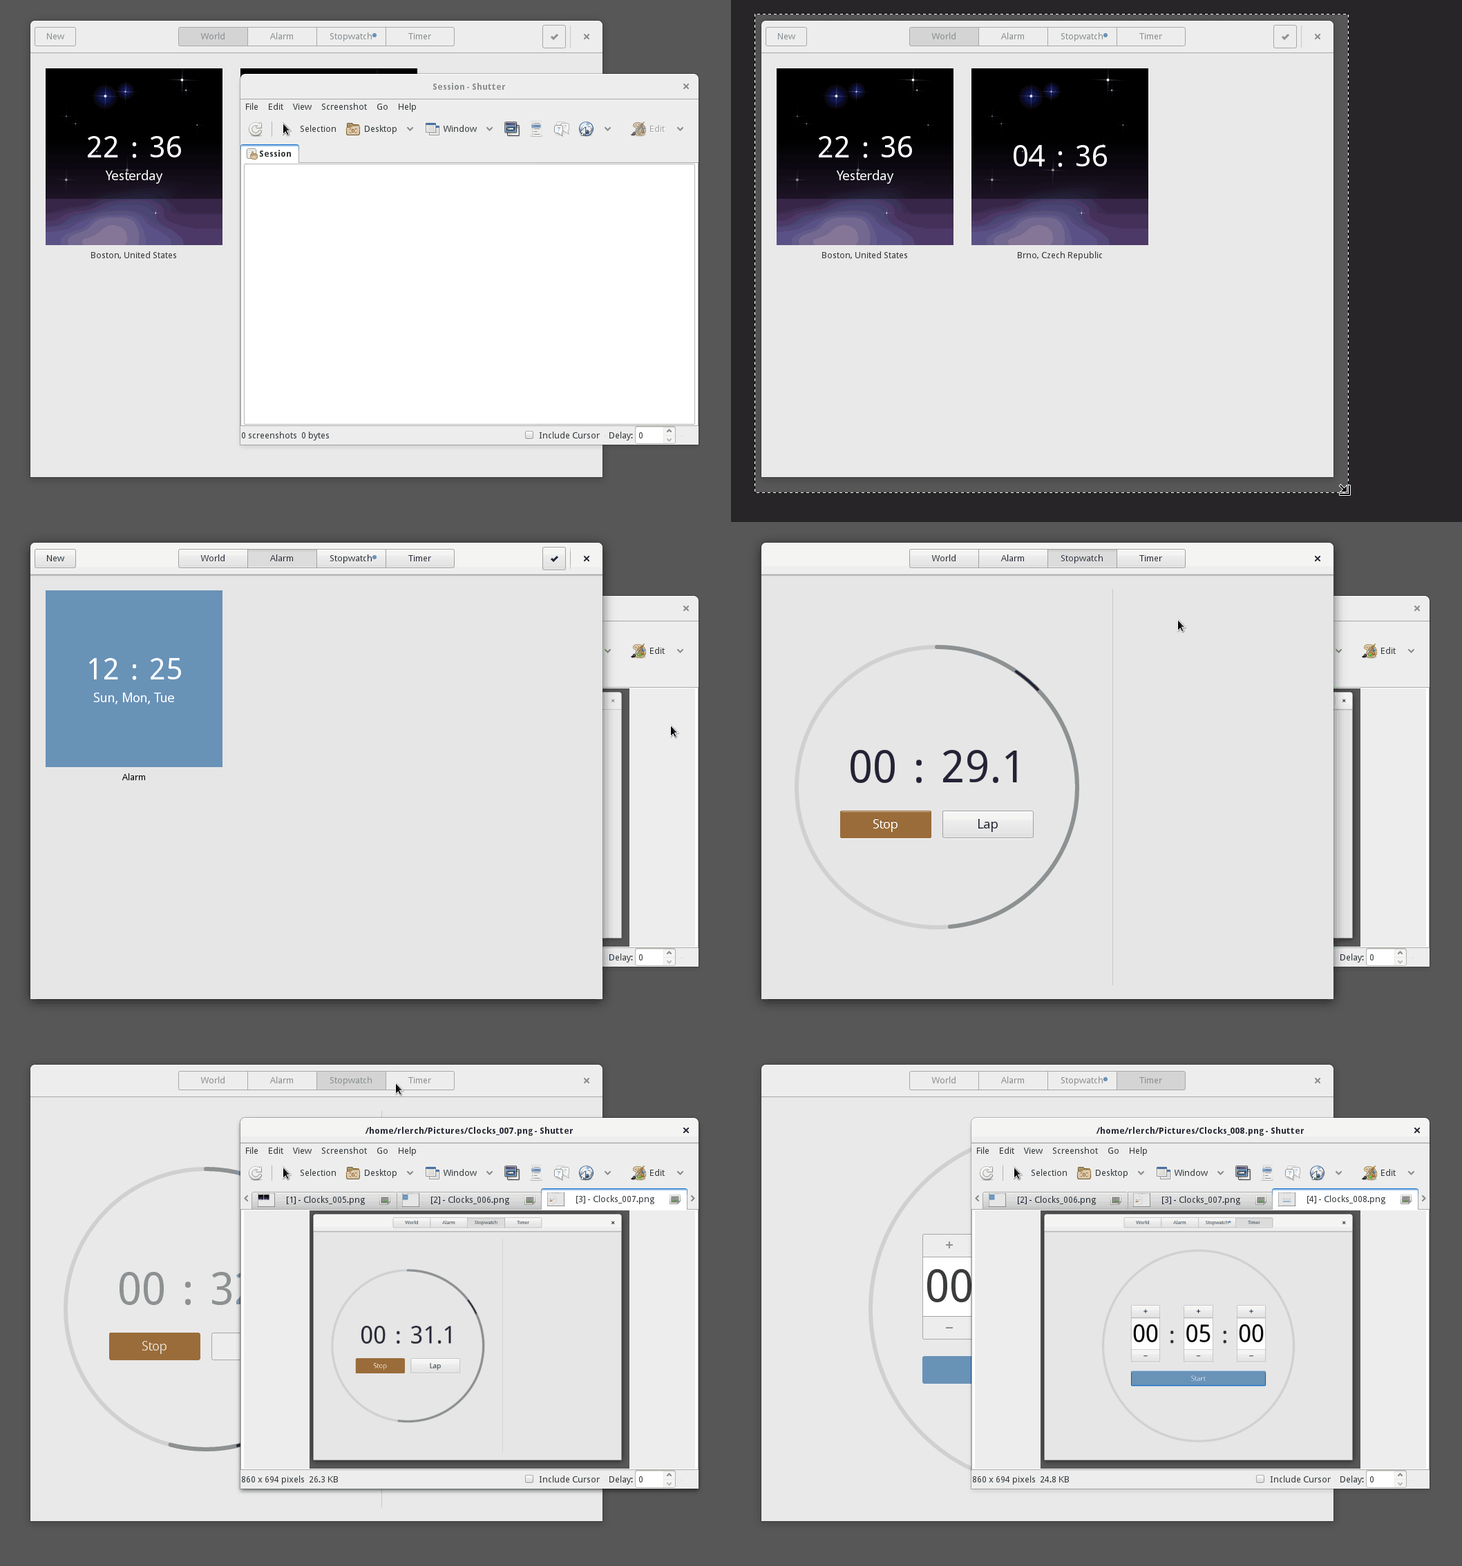
For me, the most useful and time-saving feature of Shutter is the ability to quickly redo the previous capture. This feature allows you to set up a screenshot, then quickly redo it after setting up the next shot in the application. For example, this next animation shows capturing a selection of the screen, changing tabs in the application, and then redoing the last screenshot.
Screenshot modes
Shutter has a range of different modes for taking screenshots of particular parts or all of your screen. Some of the modes are available in the default Screenshot tool, but also have additional tweaks and features. In Shutter, each of the screenshot modes are selected by the toolbar at the top or via the menus.
Screenshot of a selection
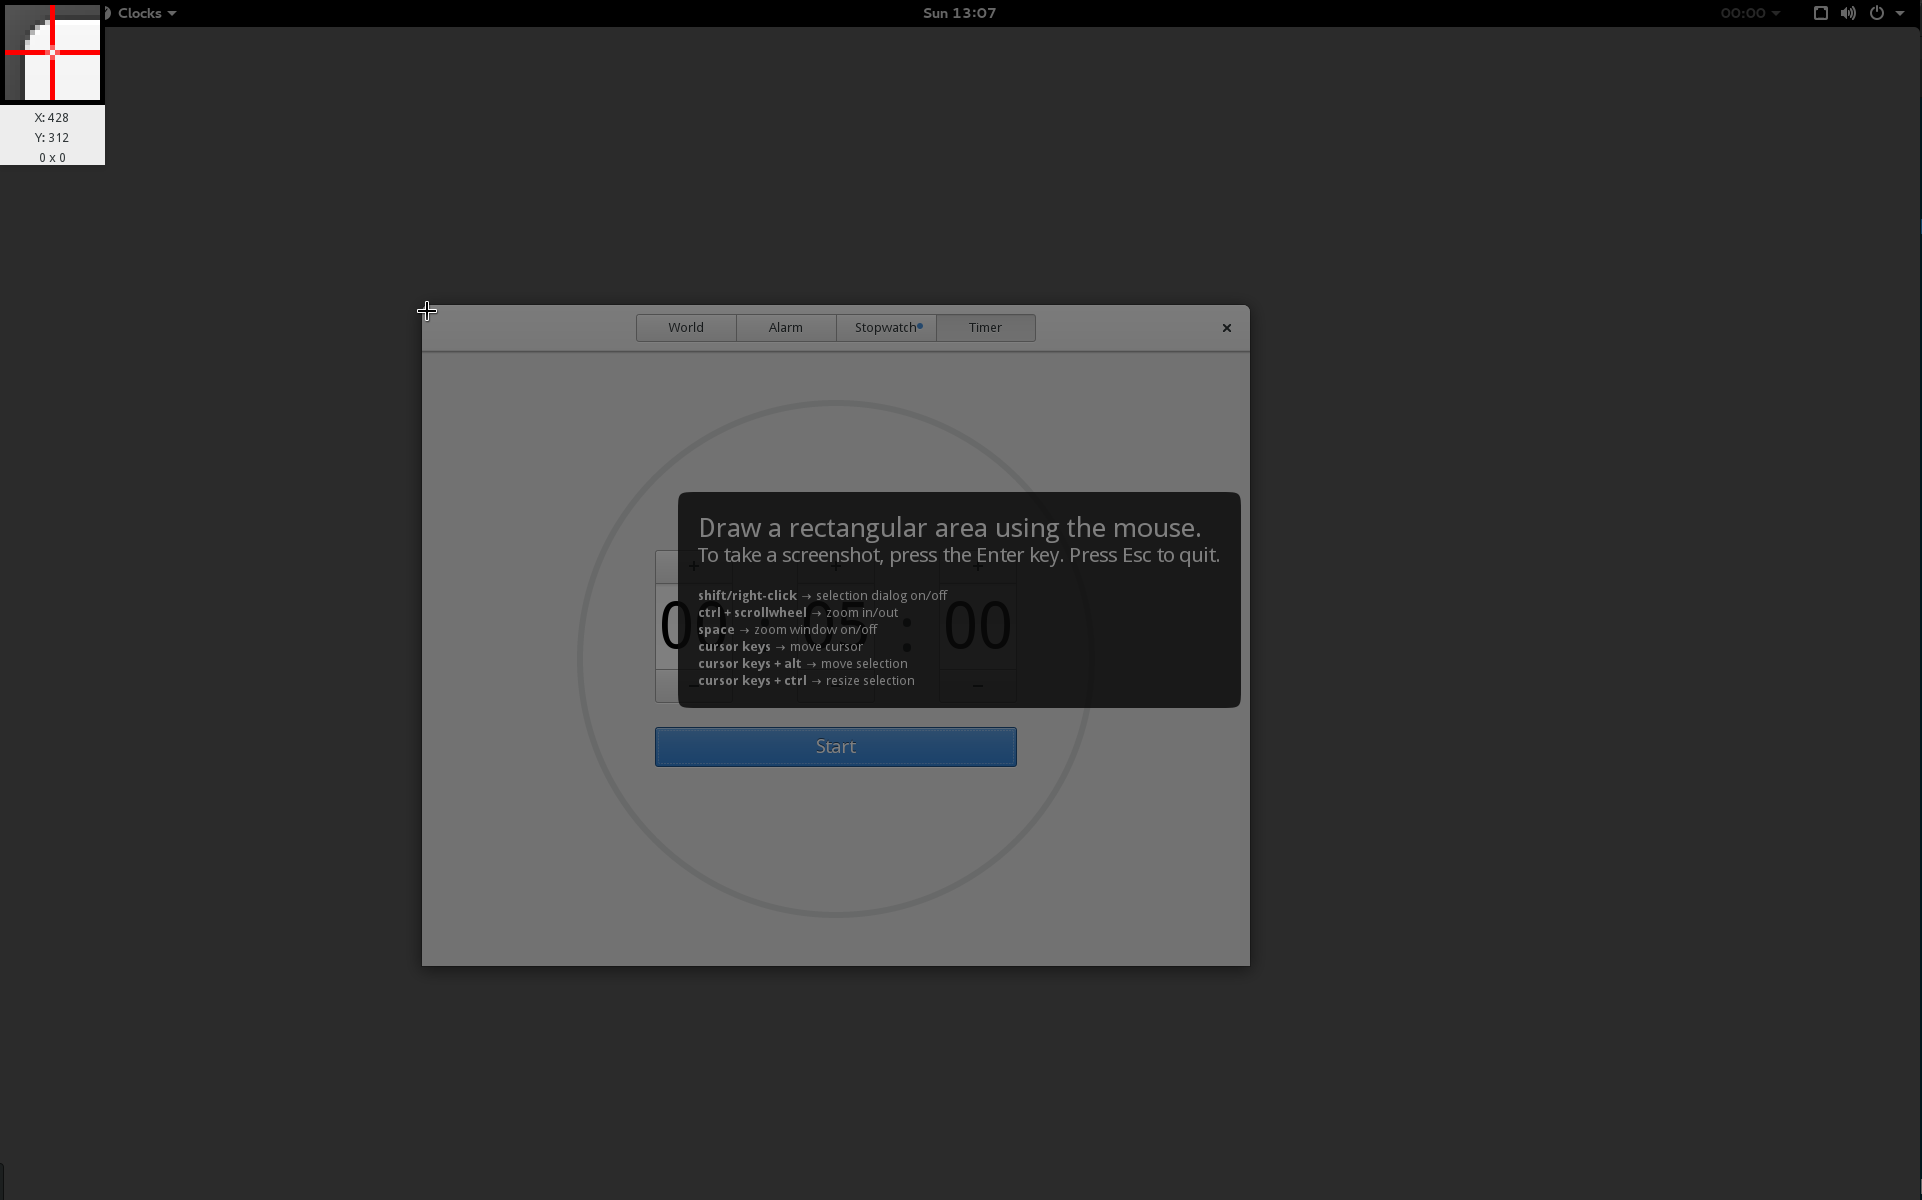
To manually select an area, use Selection mode. It allows you to select and resize the area of the screen you want to grab. You do this before taking the screenshot by pressing the Enter key on your keyboard. The Selection mode also provides a zoomed-in crosshair area where your cursor helps in getting pixel-perfect screenshots.
Screenshot of your desktop or window
The desktop grab mode takes a screenshot of your entire desktop, like the same feature in the default Fedora Workstation screenshot tool. However, with Shutter, you have a few more options. On Multi-monitor setups, shutter allows you to just take a screenshot of the desktop on the active monitor. You can also tell shutter to take a picture of a specific workspace, or take a screenshot of each workspace separately.
Shutter also allows you to take a screenshot of a specific window. The toolbar option also lists all the windows that you have open in the current workspace, so you can choose from there without having to stage up the screenshot.
Screenshots of tooltips and menus
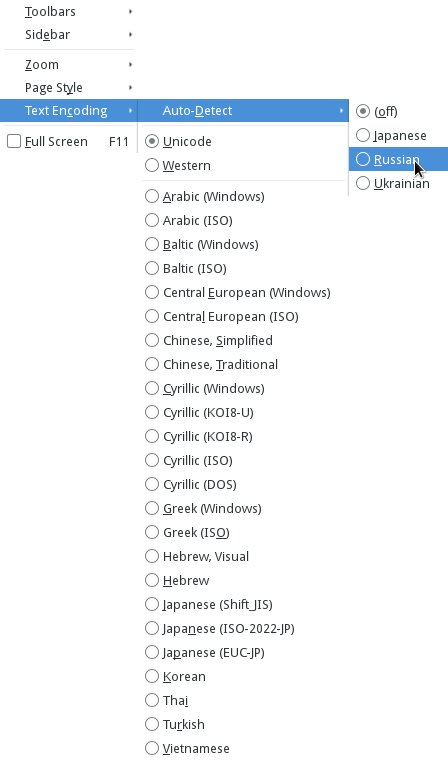
One additional Shutter screenshot mode is the ability to easily get screenshots of tooltips and user interface menus. Capturing these items can be tricky sometimes, as they are all different sizes, and hide when losing focus. In these modes, shutter gives you 10 seconds to bring up the tooltip or menu, and then takes a shot of just the menu or tooltip. Here is a screenshot of a Firefox menu taken with the Menu mode in Shutter:
Shutter screenshot editor
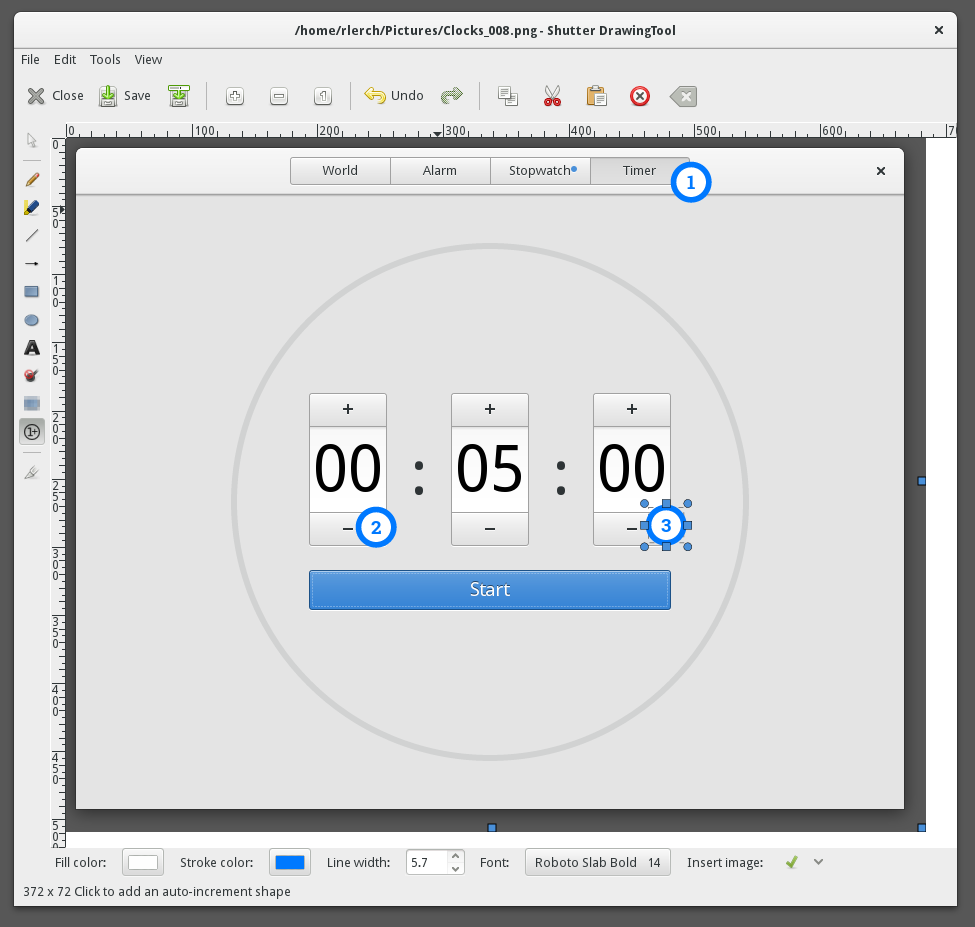
Shutter also features an image editor with a range of screenshot-specific features for editing your screengrabs. With this editor, you can easily block out sensitive information, highlight portions of your screenshots, or quickly number parts of the screenshot.





mianosm
Thanks for the post Ryan! Insightful and useful look at going above and beyond the built in screenshot abilities of Fedora.
Reading your footer entices interest in what your workflow would be in creating a vector image (like an arrow or something similar, can start very basic and quickly get hours deep complicated)…
Ryan Lerch
Thanks for the kind comments!
If you are interested, I also have a blog that has many inkscape tutorials that might be of interest to you. There are many links on there to Inkscape tutorials all over the internet, but there are also a handful of original tutorials that i have written up too — https://inkscapetutorials.org/
Jeff
Does shutter also allow you to record gifs of your desktop? Is that the tool used to capture the gif used in the article (under “Redo the last screenshot”).
Ryan Lerch
Shutter only handles static screenshots, so no animated GIFs from shutter sadly.
To create the GIF i used byzanz-record from the command line:
Jiří Eischmann
Too bad Shutter doesn’t work on Wayland… :/
CA Fedora User
The annotation and upload tools should still work.
Juan Carlos Alpízar
I was looking for something like this a couple days ago, thanks will give it a try for sure!
Utahcon
I have been using Shutter for a while (F22, not sure) and I love it. I don’t think I can ever go back to the stock screenshot tool.
Ryan Lerch
I tend to still use the built-in screenshot tool for quick one-off screenshots, especially when i just need to copy it to the clipboard quickly to paste into Inkscape. For anything more, shutter is my go-to.
Tobias
The fonts in the screenshots look amazing! Is there some particular tutorial to follow along?
Otherwise, nice insight into Shutter, thanks!
Ryan Lerch
Hi tobias!
I am using the Droid Sans fonts that are available in the fedora repositories to get them for yourself, use this command from the command line:
Then I just use the
to set the fonts as my interface fonts.
Tobias
Hi Ryan!
Thanks a lot – I’ll give it a try. It’d be nice if Fedora delivered this font appearance right out of the box. I don’t mind tinkering with fontconfig files but it certainly would speed up setting up a new Fedora installation. Under the hood, there are so many options to adjust the fonts (and the font-family itself). Finding the perfect configuration always takes a bit of time. For some reason, I’m quite a perfectionist when it comes to font rendering. 🙂