


Our task
A new design is needed for a business card with a company logo, the person’s name, job title, email and phone contacts, as well as the company name and address. In this article you will learn how to install Inkscape, how to create a new document, design a simple logo, type texts, and how to lay out the logo and the text to finalize the card.

Happy Linux users know there is no need to go for expensive and proprietary tools. Inkscape is known for its abilities and ease of use. In Fedora Linux, Inkscape is part of the official repositories. To install it is a straightforward process.
Installing Inkscape
Fedora Linux provides Inkscape as an RPM package or a flatpak.
The easiest way to install Inkscape, if you are familiar with the terminal, is to run the following command:
$ sudo dnf install inkscape
Note that in order to install system-wide packages, you need to have the administrator access to the system.
If you do not have such access (or you simply do not favor this installation method) you can install from flatpaks. Fedora Linux supports flatpaks by default and they also can be installed with a simple command:
$ flatpak install org.inkscape.Inkscape
If you would rather have Software install the application:
- Start Software.
- Click on the Search icon
 in the upper left corner.
 - Type inkscape into the search bar.
- Click on the application link that appears below.
- Select the Fedora Linux (Flatpak) installation source with the pull down menu in the upper right corner.

- Click on the Install button and wait until it changes to Open.
- Start the application with the Open button or from the Activities page.
Creating a new document
When Inkscape starts, a new document window will open automatically. If it is currently running, you need to start a new document by clicking File > New or pressing the Ctrl-N keyboard shortcut. A new document window opens. New windows always open as new, standalone, instances of Inkscape.
Note that whenever the last open Inkscape window closes, the entire application closes, too. To start a new document, you need to restart the application.
You can also open new document from a template. This might be helpful if you do not want slow yourself down with setting up the document. To do it, click File > New from Template or press Ctrl-Alt-N.
Setting up the document
The newly created document uses default settings. You can change them using File > Document Properties or Shift-Ctrl-D. To describe all the settings is beyond the scope of this article, so we will only mention a few of them that we will need to create the business card:
- Set the Paper Size to Business Card (US) on the Page tab. This may require you to use the selection box on the right side of the menu to ensure you get “3.5 in x 2 in (United States, Canada)”
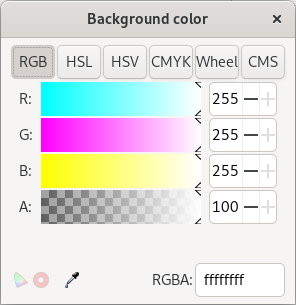
- On the same tab, set the Background color to white. Click on the icon and make sure, the RGBA value is set to ffffffff in the dialogue.
- If you want, you may create a grid, by clicking the New button on the Grid tab in the Creation section. The type of the grid can be selected using the pull down menu before you create it. Grids can be helpful when positioning objects on the document.
- You can also define if and how items will snap. Snapping means that when you approach an object while dragging another object, suddenly they will “jump” together. This can be done on the Snap tab.
- If you wish, define a license and some metadata using the corresponding tabs.
Each setting comes into effect immediately, so do not expect a confirmation button.
Here is the overview of the document settings.

Part one: Getting inspiration
Sometimes, the muse is wandering in distant lands but you still need to start working on the design. It might help to check someone else’s work for inspiration. Also, in more complex designs, it might be helpful to have the initial drawing and start from it. Art and drawings are available from the Internet, but they often are protected with licenses and you need to pay the fee before you can use them in your work. The OpenClipArt gallery is a community gallery that offers various vector based drawings that you might freely use for your own works, royalty free.
Part two: Create the company’s logo
Companies often have an official logo that should be used in all company documents. If this is your case, you can simply import the logo file by selecting File > Import or pressing the Ctrl-I shortcut. Inkscape allows you to important many important formats.
However, if there is not such an option, you might want to design the logo by yourself. DreiHügel, the model company, uses the logo of three peaks in front of the setting sun.
Drawing the first peak
- Select the polygon tool to create a triangle. Either click on the Create stars and polygons icon
 on the left panel or press * on the Numpad.
 - Select the Regular polygon option in the context menu that is displayed.
- Set the number of corner to 3 to make it a triangle.

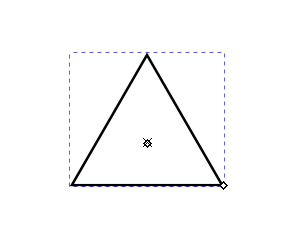
- Click somewhere in the canvas, hold the mouse and start pulling the mouse in any direction. You will see how a triangle is forming and that you can change its size and rotation by various mouse moves. Release the mouse button when you are satisfied with the triangle size and position.
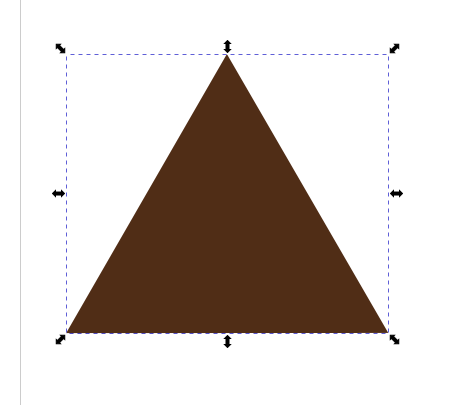
Changing object’s attributes
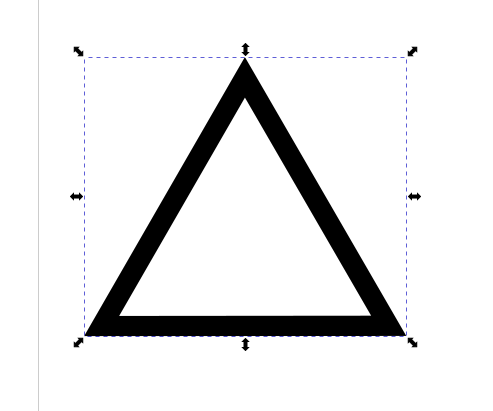
Any Inkscape drawing is an object. The object has various attributes, such as shape, size, color, stroke, stroke color, etc. You can change these attributes by selecting that object by clicking on the “Select object” icon ![]() at the top of the tools column to the left of the canvas. Click on the object and a set of arrows will appear around the object. Now you may change, for instance:
at the top of the tools column to the left of the canvas. Click on the object and a set of arrows will appear around the object. Now you may change, for instance:
- width and height by pulling the arrows; to keep the proportions while resizing an object, click on the
 icon.
icon.
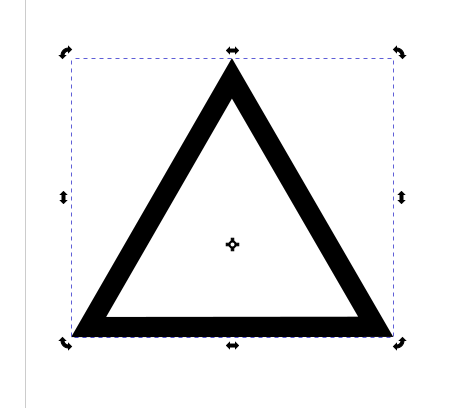
- rotation by clicking on the selected object again (note, the arrows change directions)
- color by clicking on a color in the color palette below the canvas

- stroke color (the object’s outline) using a Shift-click in the color pallette
- other attributes by opening the object’s settings using the
 icon in the menu bar
 - change its location by dragging the object to a new location
To perform various actions related to objects, check the Object menu.
When you have applied the necessary changes listed above, the triangle might look like this. It will serve as the basic element to create the three peaks.
Drawing the rest of the peaks.
- Select the first peak.
- Press Ctrl-C to copy it and Ctrl-V to paste it. This creates the second peak. Alternatively, you can press Ctrl-D to duplicate the first one. Note, the duplicated object will be placed at the exact same location, so it might look like nothing has happened until you drag the duplicate to a new location!
- Repeat to create the third peak.
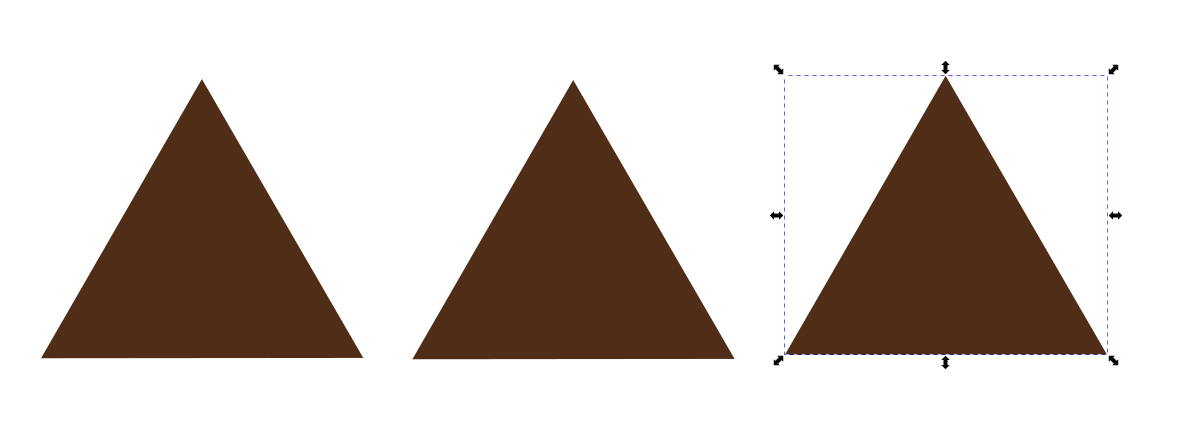
- Now, make one of the peaks bigger and drag them together to create the three peak symbol.
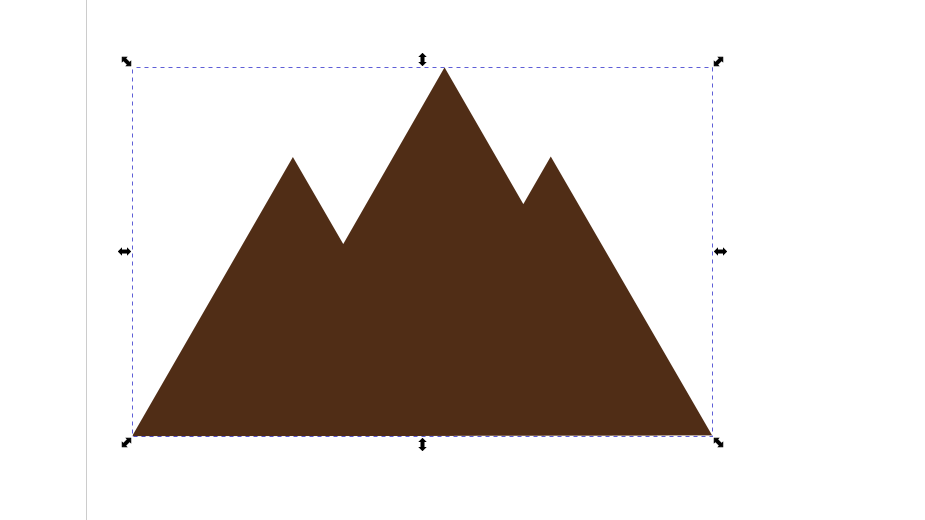
- Select all of the peaks at once. You can do it by dragging a selection rectangle around all of them. Note that you have to enclose all the objects fully or they will not fall into the selection. Alternatively, you can select the first object and add more objects into the selection by holding Shift when clicking on them.
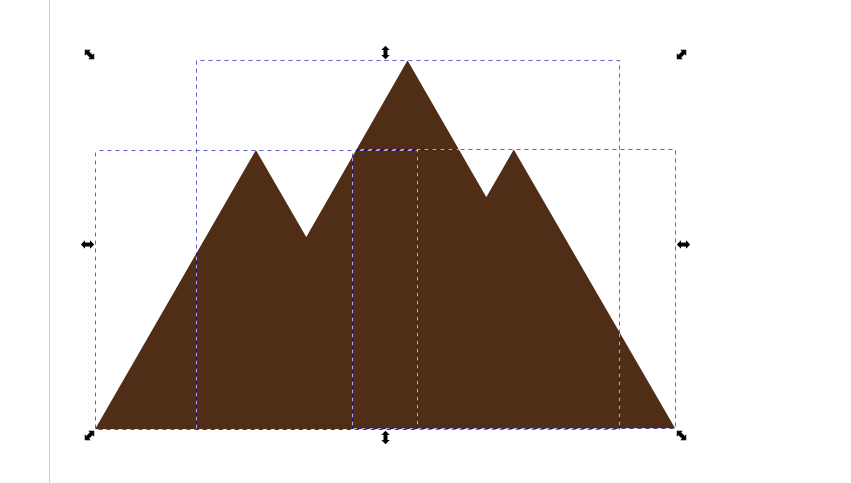
- Use Path > Union from the menu to merge the objects into one complex object.
Drawing the sun symbol
- Select the Create circles, ellipses and arcs tool (press E) and draw a circle.
- If it looks more like an ellipsis, make sure your Rx a Ry values in the menu bar above have the same value.

- Change its attributes to suit your needs.
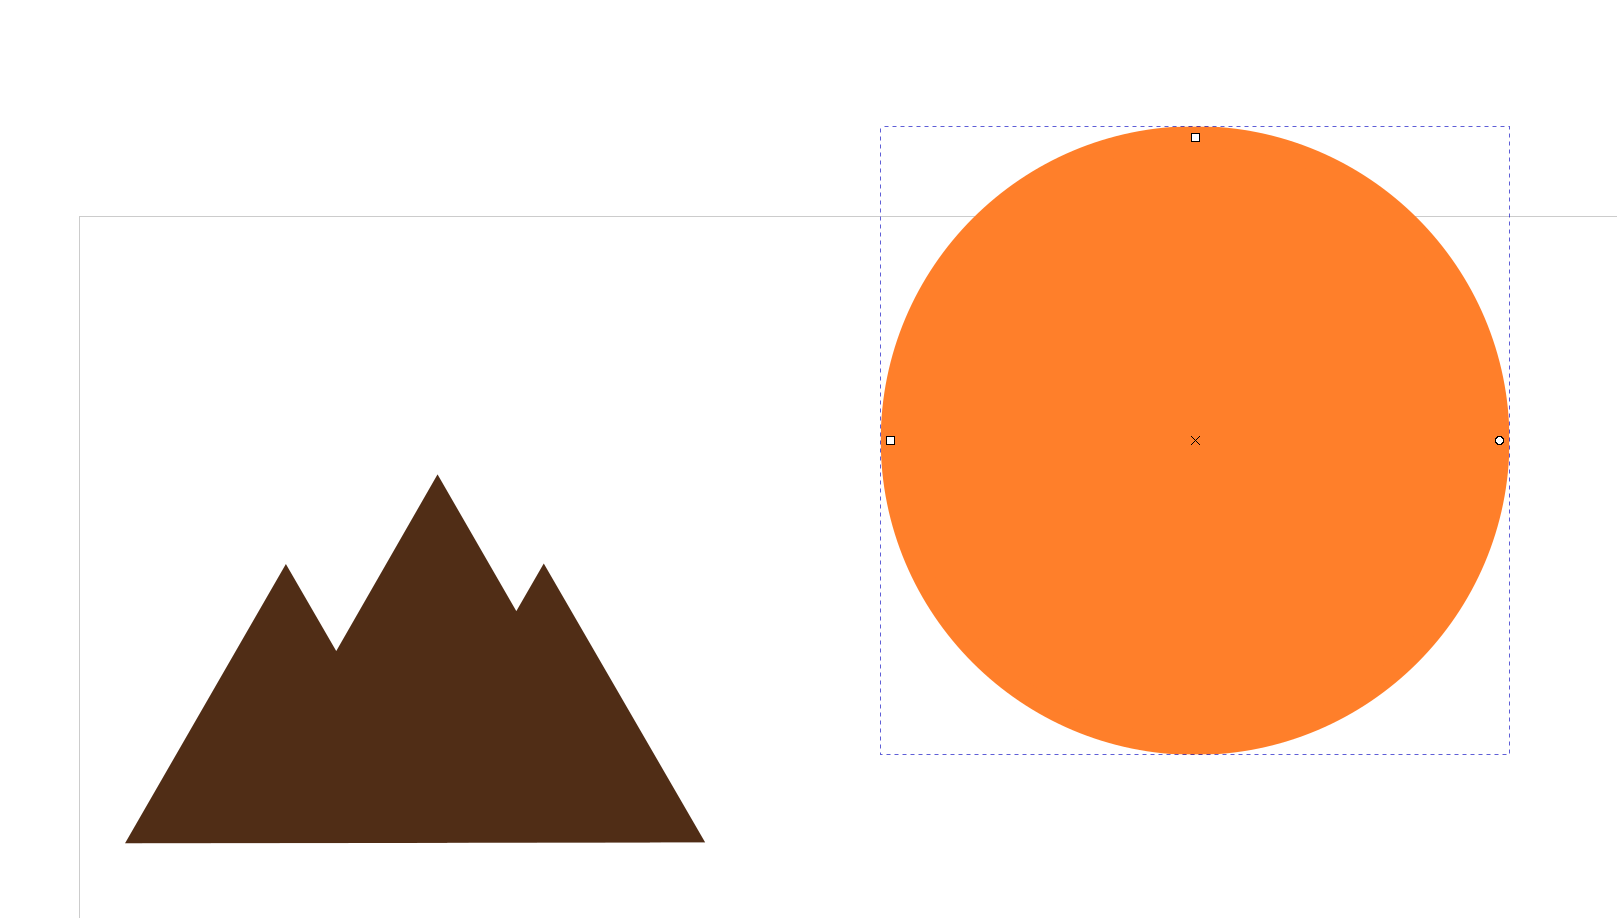
Putting it together
- Drag the peaks over the sun. You will notice that that the peaks hide behind the sun. This happens because each object is placed in a separate layer, so later objects come in on more upper layers. To move the sun in the background, select it and use the Lower selection to bottom icon
 or press End. After this, the peaks should be in front of (above) the sun.
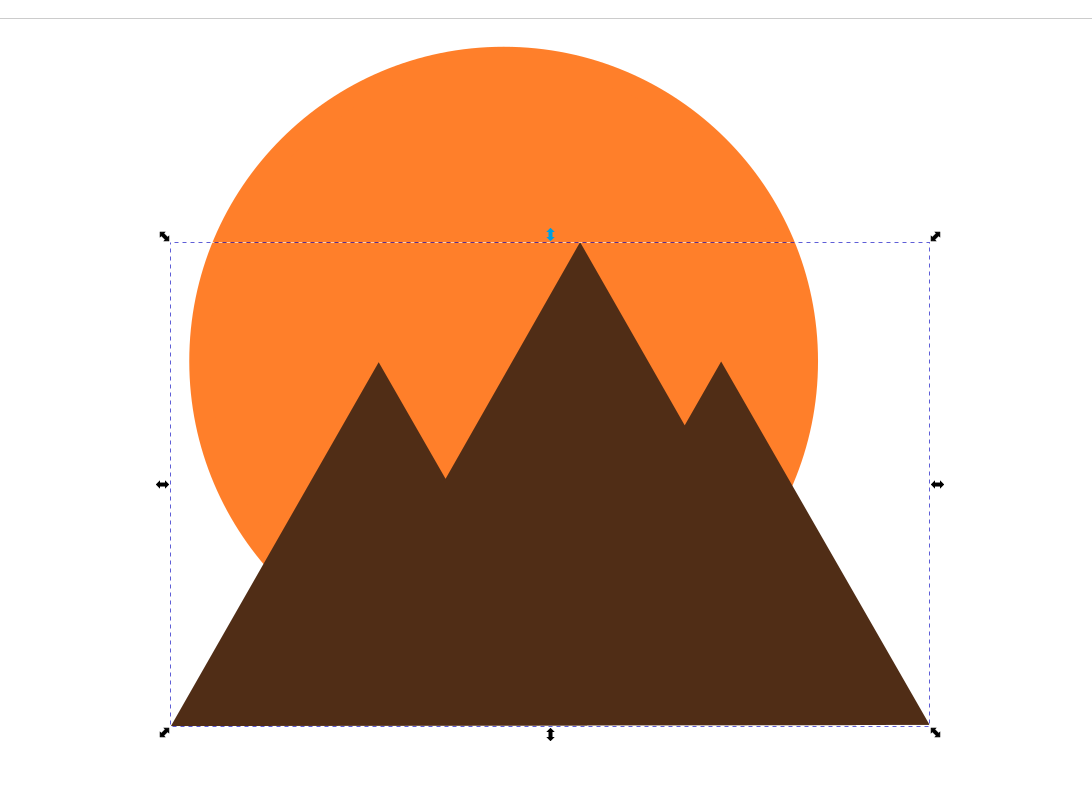
- Duplicate the sun and drag the duplicate out of the way.
- Position one of the suns and the peaks, so that they form the final appearance of the logo and select both of them.
- Create an intersection of the two objects by using Path > Intersection and change its color back to the color of the peaks if needed.
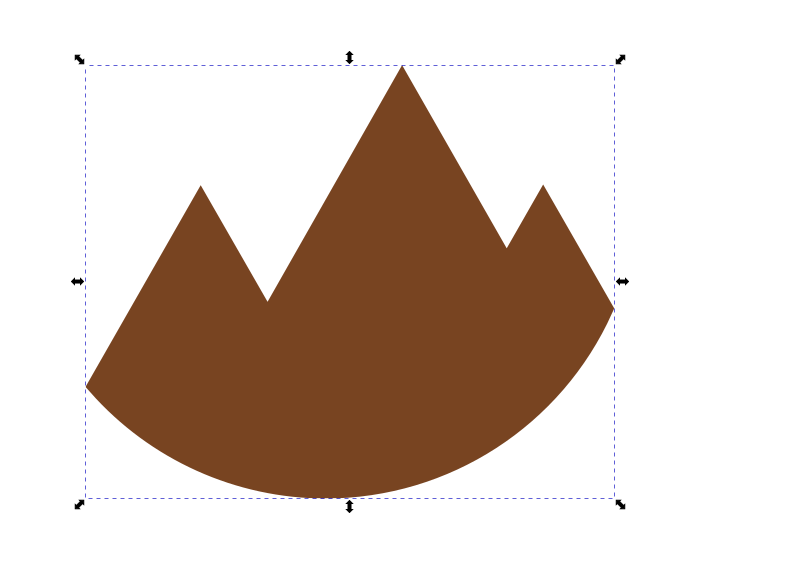
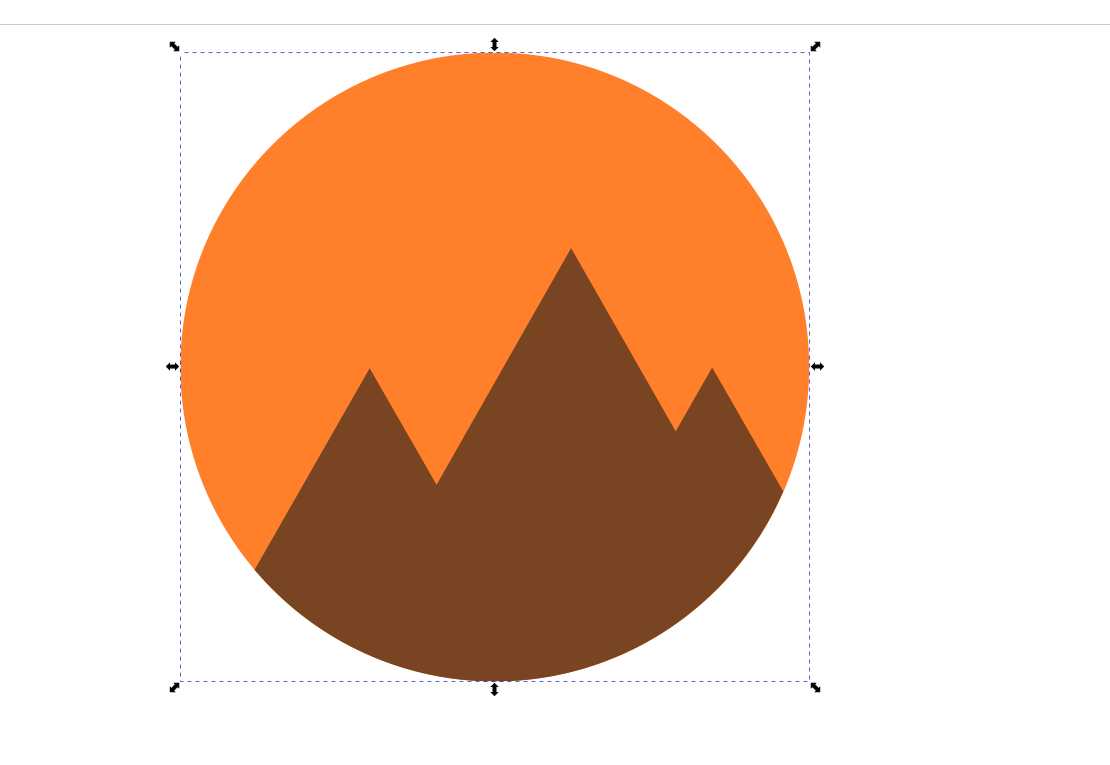
- Drag the peaks onto the second sun, adjust the position, layers and colors, so that it matches the final logo.
- Select both objects and group them together using Object > Group or Ctrl-G. If you need to un-group the group, do it using Object > Ungroup or Shift-Ctrl-G.
Using layers to protect the logo from moving
Using layers is a good approach that simplifies the workflow when you start creating more complex layouts or pictures. Keeping components in separate layers protects them from unwanted actions, such as movements, resizing, or deletions, and offers some more artistic features, like filters. To use the layers:
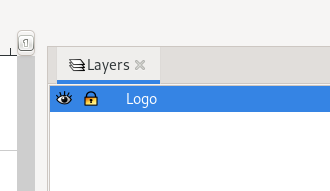
- Use Layer > Layers… or press Shift-Ctrl-L to open the layers’ settings.
- Click twice on the layer name and rename the layer to suit your needs, for example Logo.
- Click on the Lock icon to lock it. Now it will not be possible to modify the content in that layer until you unlock it again.
Part three: Creating the text layout
Before you start typing in text, create another layer to hold it. On the layer settings page, click on Create new layer icon (a green plus sign at the bottom of the layer list) and a new layer will be created above the current one. Rename it to suit your need, e.g. Text.
Adding text
Deciding on text attributes
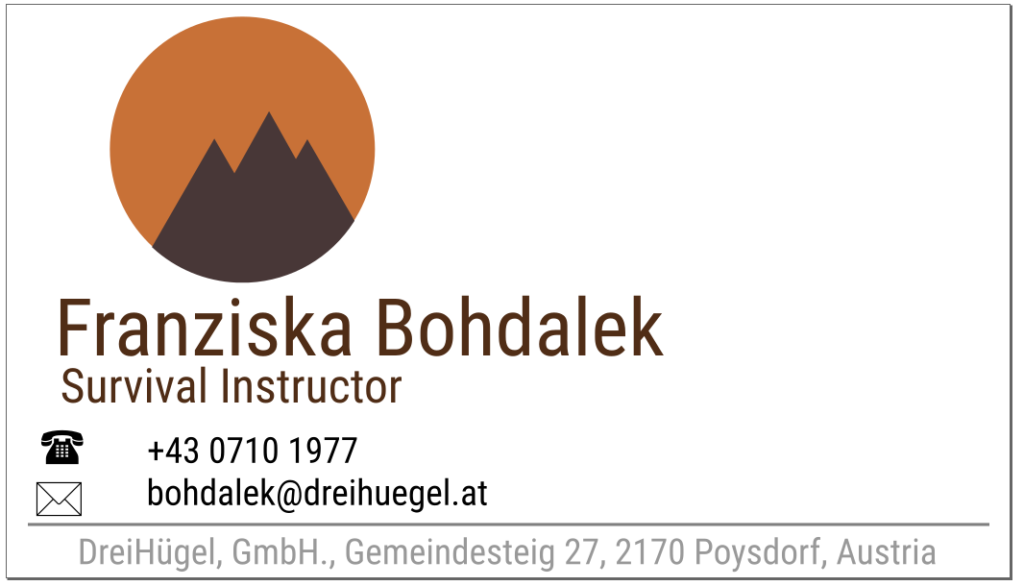
The text used in the business card have the following attributes:
- all fonts are Roboto Condensed, normal face
- the name is 20pt, the job title 12 pt, the phone and email address are 9pt, and the address is 8pt.
- the color is black, except for the address which is 30% grey, as well as the division line.
- the phone and letter symbols are from the Symbola font using the character selection tool at Text > Unicode Characters. Look in Range Miscellaneoous Symbols and Pictographs.
- the fonts are standard Fedora Linux fonts.
To start adding texts, use the Create and edit text objects button (or press T). The menu bar above changes and gives you quite a number of settings that you can use:

From right to left the settings are :
- font selection
- face selection
- size
- spacing and kerning settings
- alignment settings
How to add texts
There are two options to add the text:
- Click on a location where you want to place the text and start typing. The text will correspond to the settings and you will be typing on a single line until you hit Enter. This option is better to enter shorter texts.
- Click and drag on a location where you want to place the text and draw a rectangle to specify the text area. Then, when you start typing, the text will automatically fit into that area. This option is better to use for longer pieces of texts or whole paragraphs.
When you are done typing, press Esc and S to select the text object. Now you can work with it the same way you would with any other object, i.e. you can resize it, move it around, delete it, change its color and stroke.
If you need to resize a text object, resizing by selecting it and dragging the corners might not be the best way. The text object will recalculate the current font size. Some fonts, however, actually contain layers for each different size so you can achieve better results by increasing the font size attribute.
You should now be able to type all the text necessary and place it in the card. Precise placement will be done later.
Creating horizontal lines
To create a horizontal (or vertical) line, the best thing is to use the Bezier curves. To select that tool, click on the Draw Bezier curves and straight lines or press B. Bezier curves represent a very powerful tool to draw lines and shapes, however, we will not go deeper into them in this article.
To create a line using the Bezier curves, you basically need to click at the location of the start point and double click at the location of the end point. Between those points a straight line is drawn. Holding the Ctrl key while moving the line towards the end point enables you to force the line angle (relative to horizontal) in 15 degrees increments, so it is easier to create straight horizontal or vertical lines.
Note that any line object lacks the color attribute so if you want the line to be of different color, you need to edit its stroke color. Also, you do not want to use the resize and rotation arrows to manipulate the length and direction of the line. To edit these attributes, use the Edit path by nodes tool (press N) and move the nodes (the tiny little empty squares) of the line to a new location. Doing this will give you much more control over the process.

Now we have all the items ready in our card and we will focus on the placement of the particular elements.
Part four: Finalizing the layout
First, make sure you have locked the layers to protect the content from unexpected movements.
Placing the logo
- Select the Logo layer and unlock it.
- Select the logo object and make sure it is properly grouped together in order to behave like a single object, otherwise the following steps might lead to unexpected results.
- Open the alignment and distribution menu using Object > Align and distribute (press Shift-Ctrl-A).
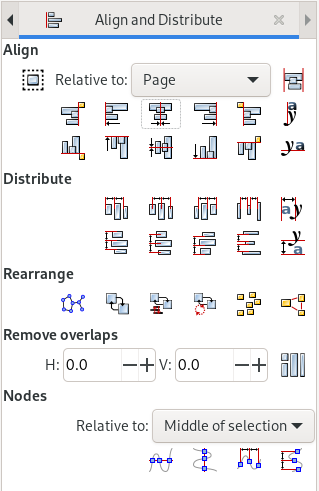
- In the Align part make the action relative to Page and click the Center on vertical axis
 icon. The logo will be placed exactly in the middle of the card.
 - Adjust the logo’s horizontal placement by pressing the up and down arrows. Hold Shift to make bigger steps or Alt to make smaller steps.
- When you are satisfied with the result, lock the layer.
Placing some of the elements
- Select the Text layer and unlock it.
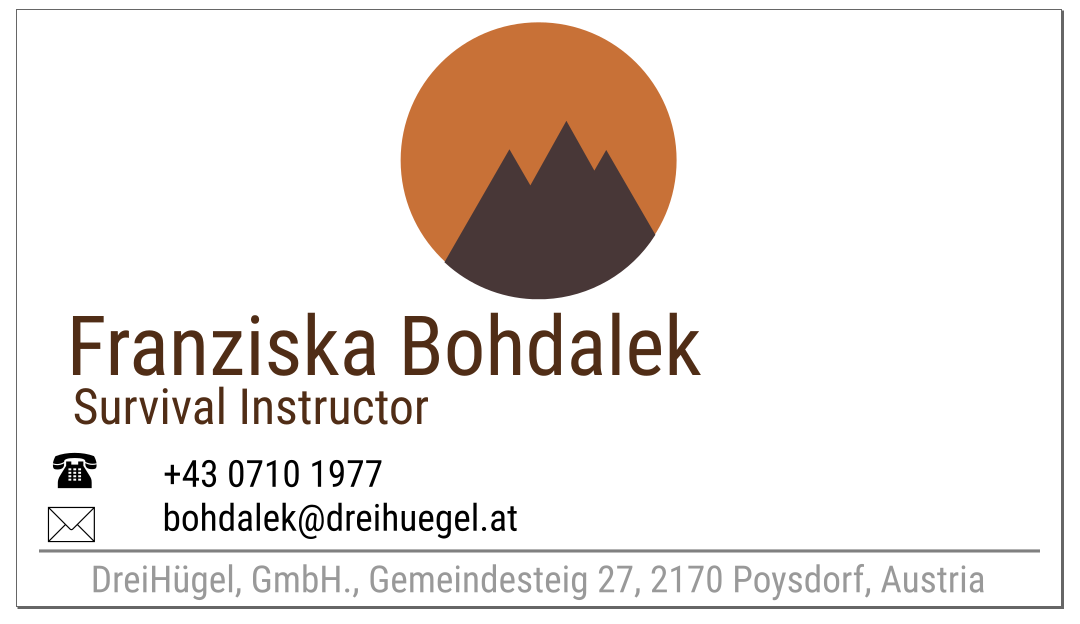
- Select the name text and the job title text and repeat the steps as you did for the logo placement.
- Now you have placed the name and the logo in the middle of the card.
- Use arrows to move the texts vertically until you are satisfied with the result.
- Repeat this process for the address line and for the division line.
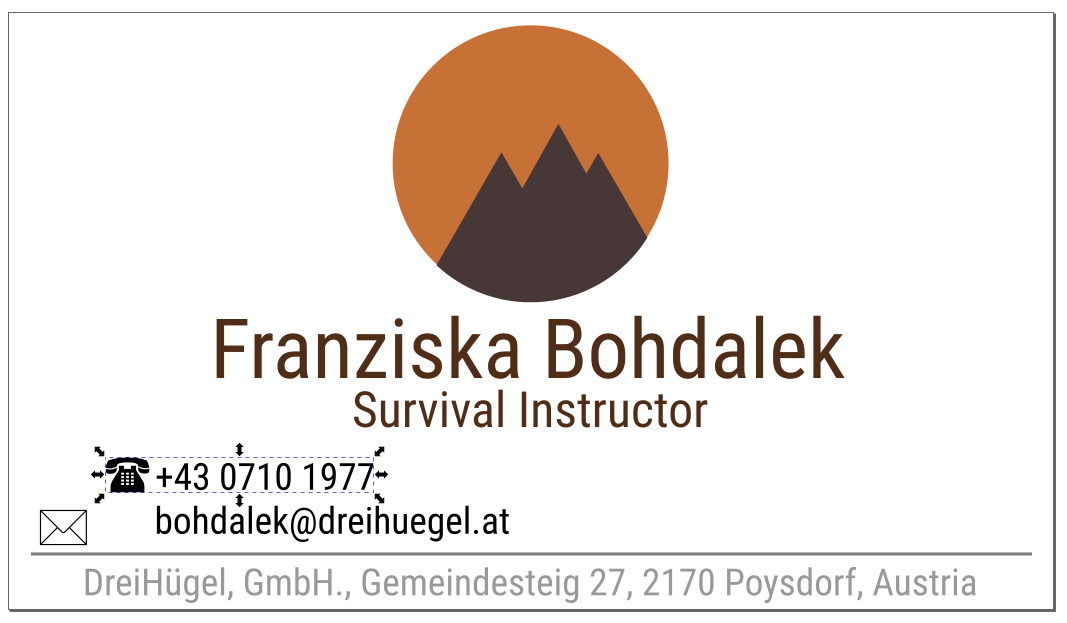
Laying out the phone number and the email address
- Set the phone symbol height to 3mm.
- Move it towards the phone number text to make it correctly aligned. You can either use the mouse to drag it in place or the arrows to move it around. Remember, with Shift the steps will be bigger, with Alt they will be smaller. When dragging the mouse, objects snap together (if set so). Sometimes objects snap into a position that you actually do not like. To prevent snapping temporarily, press Shift when moving the objects. Thus you will be able to place the objects correctly.
- Finally, group the symbol and the text to protect their positions.
- Lay out the email address.
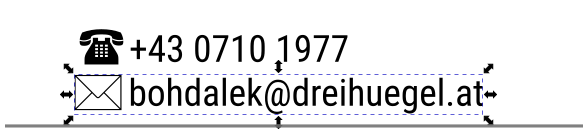
Placing the phone number and the email address
You can use Guides to help you set the positions and make sure things align well, when placing them on the canvas.
- Click and drag on the left ruler bar to pull out a vertical guide. Use it to create a left margin. You can check the guide distance from margin on the top ruler bar. Dragging from the top ruler bar creates a horizontal guide.
- Repeat once more to create a right margin.
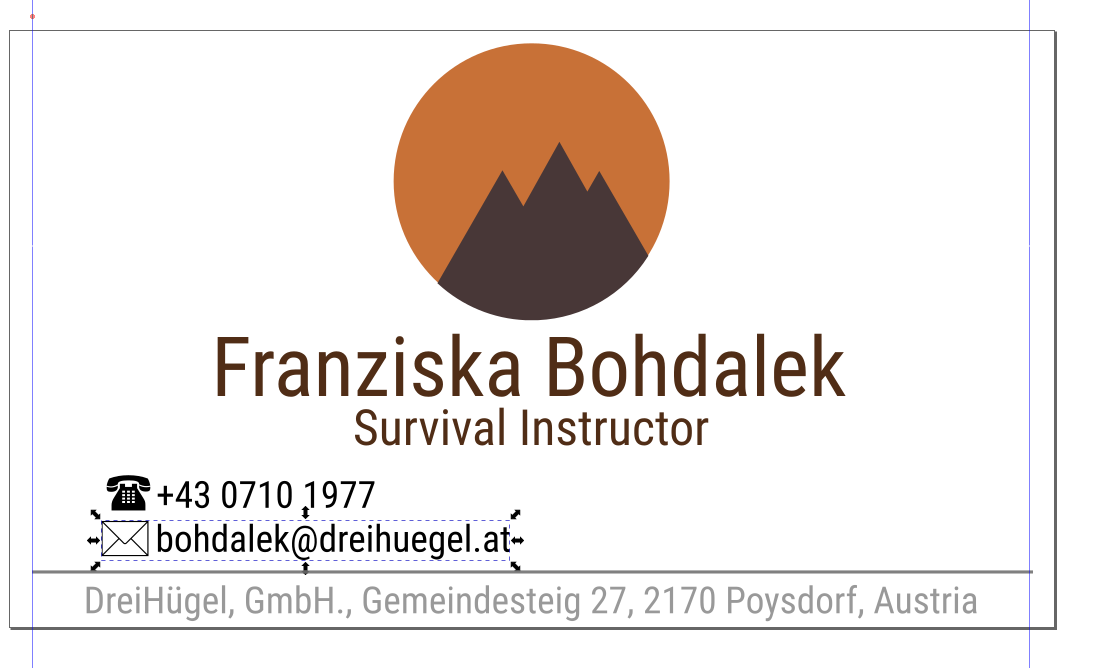
- Drag the phone group to touch the left guide and the email group to touch the right guide to place it correctly to the margin of the card.
- Select both the phone number and the email address groups and go to the alignment and distribution menu. This time make it relative to the Selection area and use the Center on horizontal axis
 icon. Both groups will be correctly horizontally aligned.
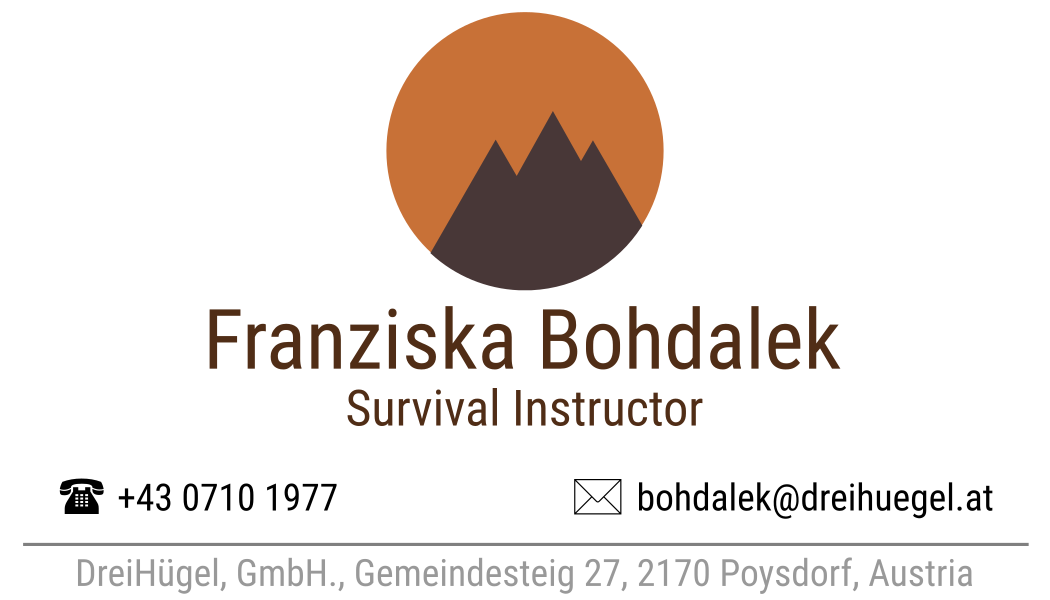
- Lock the layers when you have finished.
The card now has all the texts it should have and they are also correctly placed and aligned. In order to distribute the card, you need to export it to a format that is more commonly used.
Exporting the file
Inkscape uses the SVG format, which stands for scalable vector graphics. When you want to print the business card, printers usually work with portable document format, known as PDF. To send the business card as an email attachment, you should probably use some of the bitmap formats, such as PNG or JPEG.
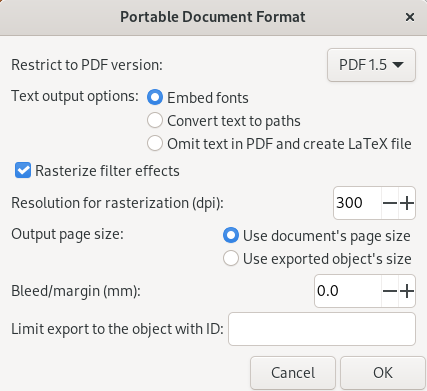
Saving as a PDF document
- Choose File > Save As.
- Select PDF as a format in the selection box at the bottom of the menu and click on Save.
- Select Convert text to paths to make sure you avoid problems with missing fonts when printing on a different computer.
- Set Resolution for rasterization to at least 300dpi if you want your prints look good.
Exporting as a PNG file
- Choose File > Export PNG image (press Shift-Ctrl-E).
- Set the export area to Page. This means that everything inside the page boundary will be included.
- Set the image size and the DPI value of the image. Usually, for printing the DPI value should be at least 300 DPI. For online viewing only, this depends on the resolution of the screen. If you set the DPI higher, you will not make a terrible mistake, but the resulting picture will consume more space on the disk.
- Click on Export as to select the file and the path where the file will be exported. Alternatively, you can manually type in the path and the file name and hit Export. Later, this field will be pre-filled with the latest export location, so any time you want to re-export, you just hit the Export button.

Congratulations, you have created your first business card in Inkscape and now you can start distributing it.

Cesar
Thanks Lukás for such detailed article. Will try this for my e-card.
John
Excellent article.
Thank you!
joe
so you were born at 07-10-1977 or someone you know
🙂
Lukáš Růžička
@joe, I love when people think. I was born on that day, indeed. 😀
user
This was amazing. I have always worked with GIMP with perspectives of working in Inkscape . One of the challenges when playing with Inkscape or any other Advanced Graphics Program is understanding the interface and the tools within.
This is a great tutorial for anyone that is curious on expanding their knowledge of Inkscape.
joe
then my subsequently congrats to the “double four” !
🙂
and of course thanks for the very informative Howto
fritis lotfi
excellent explanation, continue to make us happy to work with the free applications
Ivan
Is there a way to generate a QR code with personal data and adding it to the business card? It should be nice!!!
Lukáš Růžička
See the comments for a solution 😀
Lukáš Růžička
It takes some time before the comments get approved by the editors, but there is a question “if it is possible to create a QR code and put it onto the card.”
YES, it is possible. You can do it in Inkscape as well:
Go to Extensions > Render > Barcode > QR code.
Type whatever you want to put there into the Text field.
Make useful settings or leave as is.
Click on Apply.
Inkscape will generate a QR code for you which sort of behaves like a normal object, so you can place it, resize it, etc. Just don’t try to change its color like you would do to rectangles, that is not possible.
Morvan
Good. I did not know Inkscape had these templates. Very good. Thanks.
iherb
Will try this out, thanks a lot. Adding a short video could be useful
Hans Maerker
Great article with very clear details and easy to understand! Helps me to get familiar with InkScape’s options to solve my own little projects. I’m a former Windows user and used to Adobe’s AI. 🙂