


Introduction
Embroidered shirts are great custom gifts and can also be a great way to show your love for open source. This tutorial will demonstrate how to design your own custom embroidered polo shirt using Inkscape and Ink/Stitch. Polo shirts are often used for embroidery because they do not tear as easily as t-shirts when pierced by embroidery needles, though with care t-shirts can also be embroidered. This tutorial is a follow on article to Make More with Inkscape and Ink/Stitch and provides complete steps to create your design.
Logo on Front of Shirt
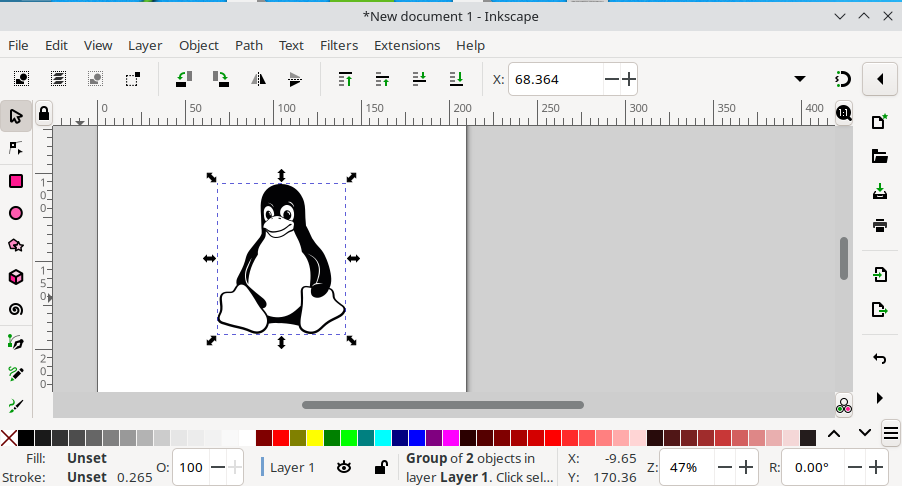
Pictures with only a few colors work well for embroidery. Let us use a public domain black and white SVG image of Tux created by Ryan Lerch and Garret LeSage.

Download this public domain image, tux-bw.svg, to your computer, and import it into your document as an editable SVG image using File>Import...
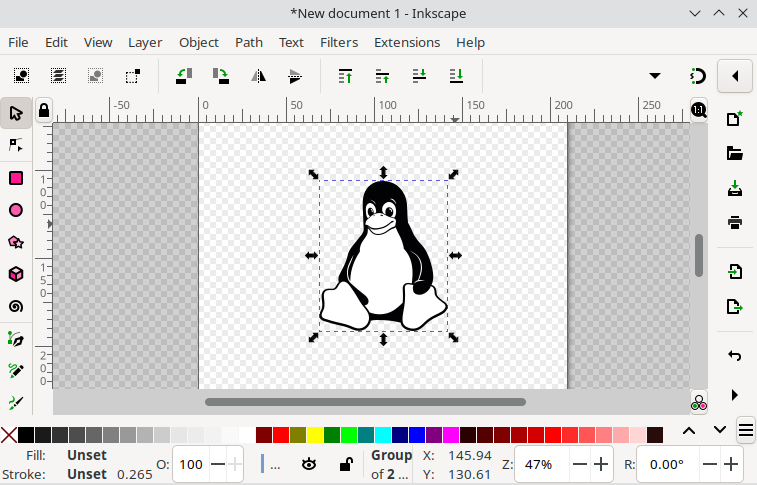
Use a Transparent Background
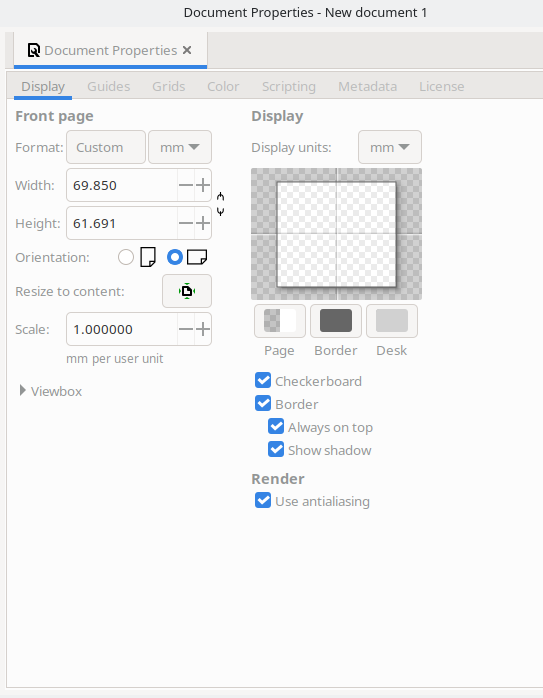
It is helpful to have a checkerboard background to distinguish background and foreground colors. Click File>Document Properties… and then check the box to enable a checkerboard background.

Then close the document properties dialog box. You can now distinguish between colors used on Tux and the background color.
Use a Single Color For Tux
Type s to use the Select and Transform objects tool, and click on the image of Tux to select it. Then click on Object>Fill and Stroke, in the menu. Type n to use the Edit paths by Nodes tool and click on a white portion of Tux. Within the Fill and Stroke pane change the fill to No paint to make this portion of Tux transparent.
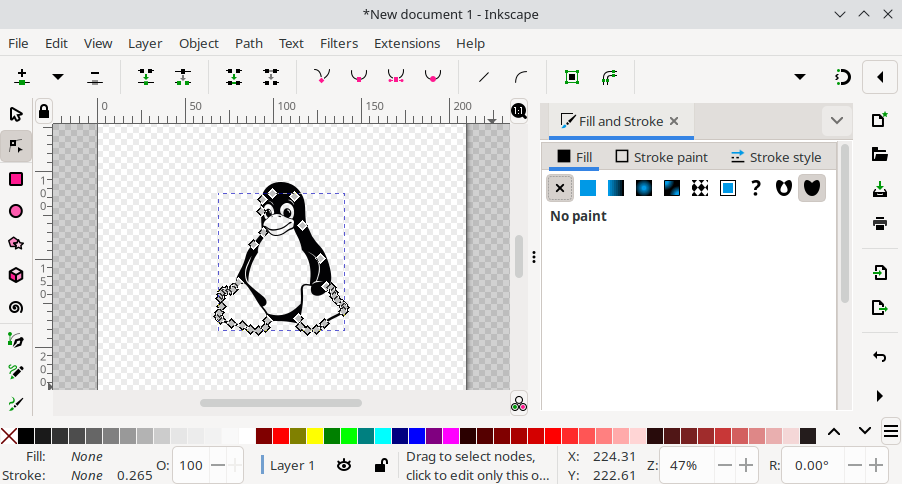
Thi leaves the black area to be embroidered.
Enable Embroidering of Tux
Now convert the image for embroidery. Type s to use the Select and Transform objects tool and click on the image of Tux to select it again. Choose Extensions>Ink/Stitch>Fill Tools>Break Apart Fill Objects … In the resulting pop up, choose Complex, click Apply, and wait for the operation to complete.
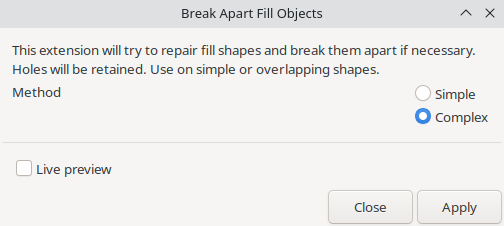
For further explanation of this operation, see the Ink/Stitch documentation.
Resize Document
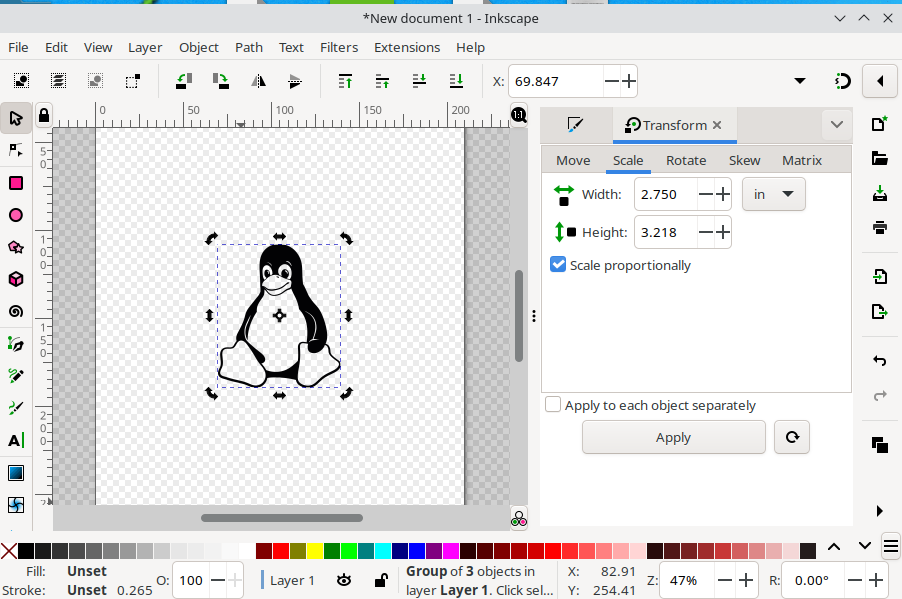
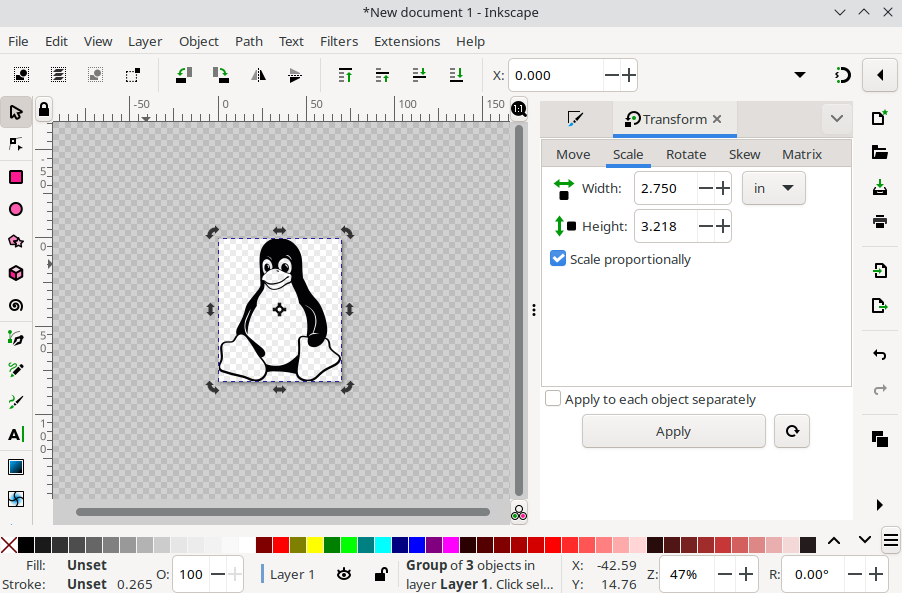
Now resize the area to be embroidered. A good size is about 2.75 inches by 2.75 inches. Press s to use the Select and Transform objects tool, and select Tux, hold down the shift key, and also select any text area. Then choose Object>Transform …, click on Scale in the dialogue box, change the measurements to inches, check the Scale proportionally box and choose a width of 2.75 inches, and click Apply.
Before saving the design, reduce the document area to just fit the image. Press s to use the Select and Transform objects tool, then select Tux.
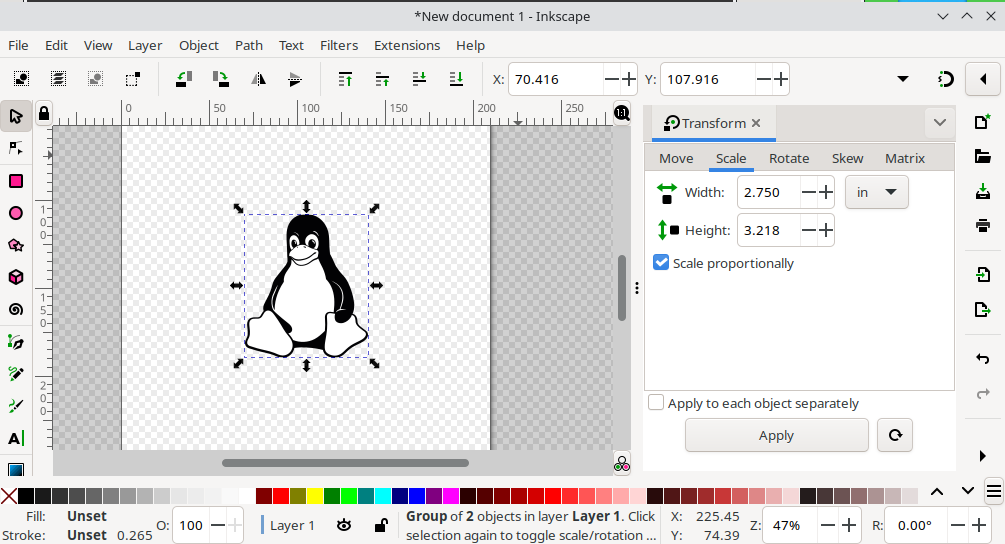
Choose File>Document Properties… then choose Resize to content: or press Ctrl+Shift+R
The document is resized.
Save Your Design
You now need to convert your file to an embroidery file. A very portable format is the DST (Tajima Embroidery Format) format, which unfortunately does not have color information, so you will need to indicate color information for the embroidery separately. First save your design as an Inkscape SVG file so that you retain a format that you can easily edit again. Choose File>Save As, then select the Inkscape SVG format and enter a name for your file, for example AnotherAwesomeFedoraLinuxUserFront.svg and save your design. Then choose File>Save As and select the DST file format and save your design. Generating this file requires calculation of stitch locations, this may take a few seconds. You can preview the DST file in Inkscape, but another very useful tool is vpype-embroidery
Install vpype-embroidery on the command line using a Python virtual environment via the following commands:
virtualenv test-vpype
source test-vpype/bin/activate
pip install matplotlib
pip install vpype-embroidery
pip install vpype[all]
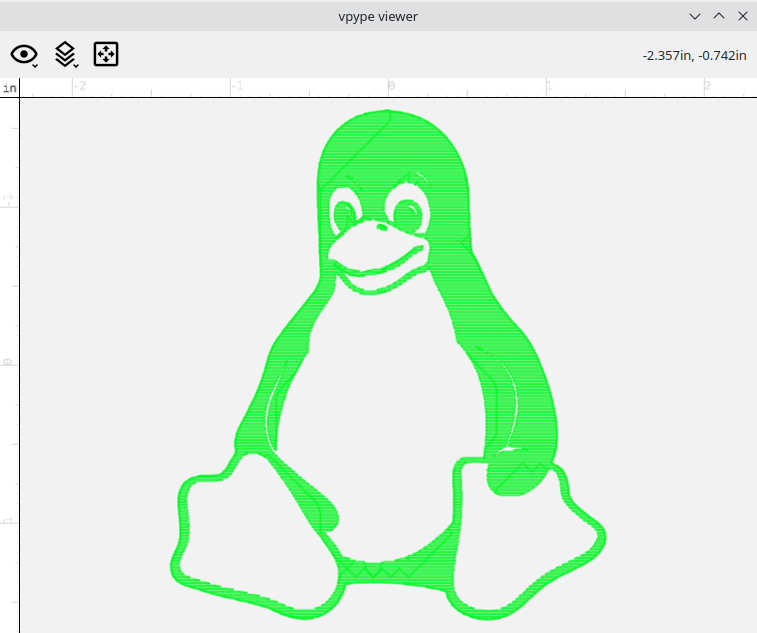
Preview your DST file (in this case named AnotherAwesomeFedoraLinuxUserFront.dst which should be replaced by the filename you choose if it is different), using this command:
vpype eread AnotherAwesomeFedoraLinuxUserFront.dst show
Check the dimensions of your design, if you need to resize it, you should resize the SVG design file before exporting it as a DST file. Resizing the DST file is not recommended since it contains stitch placement information, regenerate this placement information from the resized SVG file to obtain a high quality embroidered result.
Text on the Back of the Shirt
Now create a message to put on the back of your polo shirt. Create a new Inkscape document using File>New. Then choose Extensions>Ink/Stitch>Lettering.
Choose a font, for example Geneva Simple Sans created by Daniel K. Schneider in Geneva. If you want to resize your text, do so at this point using the scale section of the dialog box since resizing it once it is in Inkscape will distort the resulting embroidered pattern. Add your text,
Another Awesome
Fedora Linux User
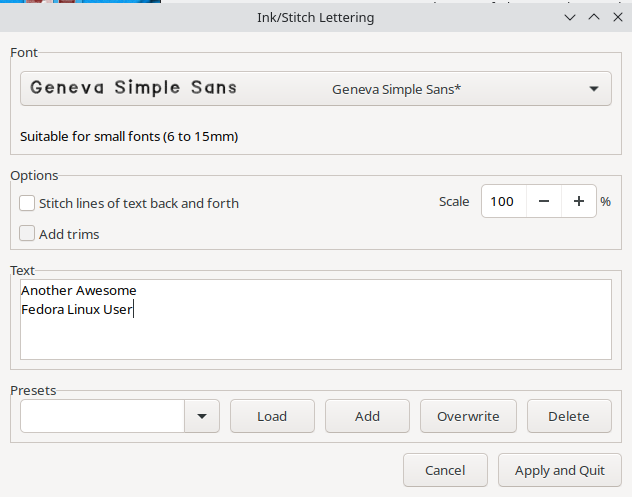
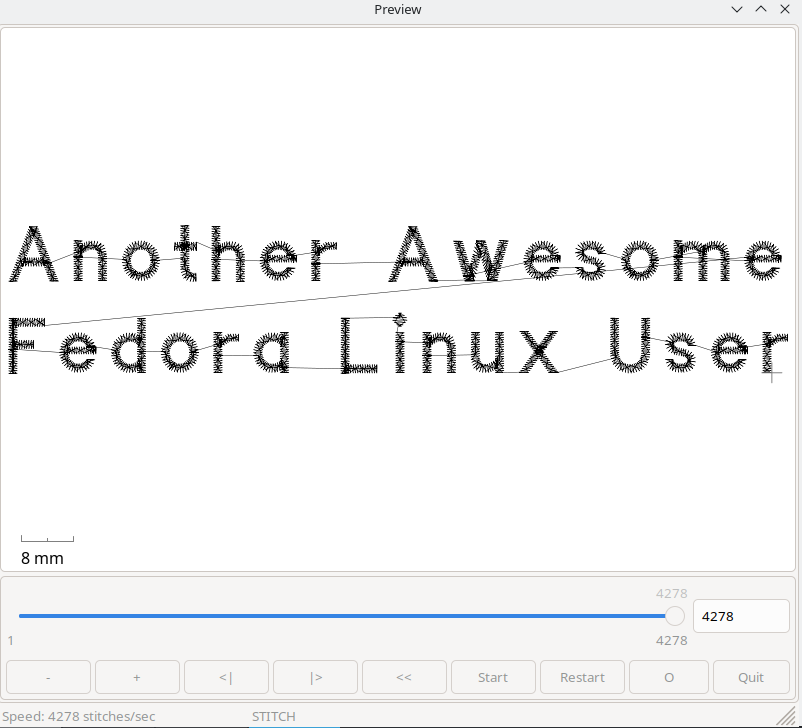
A preview will appear, click on Quit
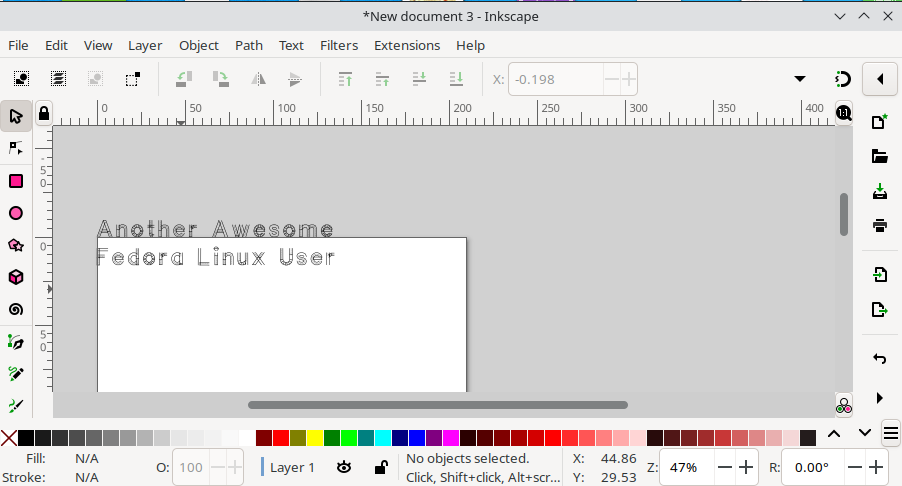
Then click on Apply and Quit in the lettering creation dialog box. Your text should appear in your Inkscape document.
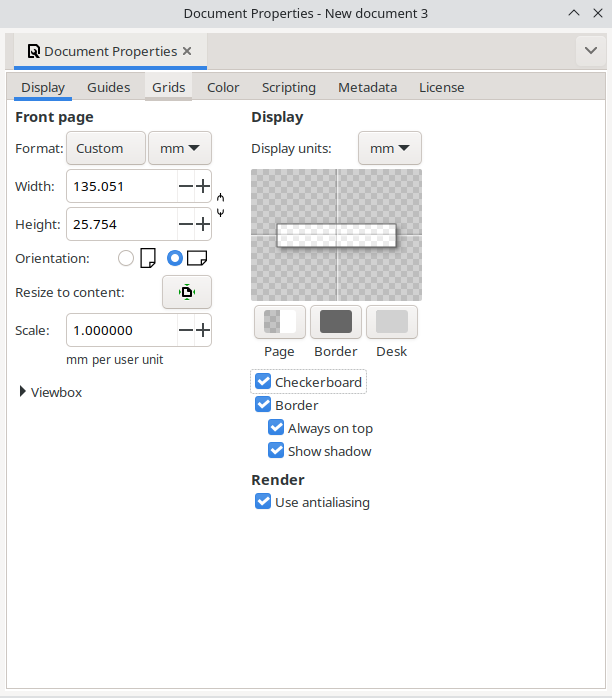
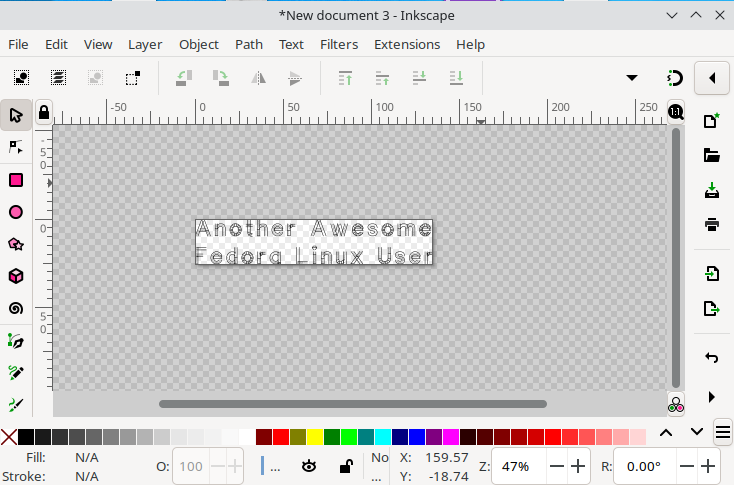
Create a checkered background and resize the document to content by opening up the document properties dialog box File>Document Properties…
Your document should now be a little larger than your text.
Clean Up Stitches
Many commercial embroidery machines support jump instructions which can save human time in finishing the embroidered garment. Examine the text preview image. A single continuous thread sews all the letters. Stitches joining the letters are typically removed. These stitches can either be cut by hand after the embroidery is done, or they can be cut by the embroidery machine if it supports jump instructions. Ink/Stitch can add these jump instructions.
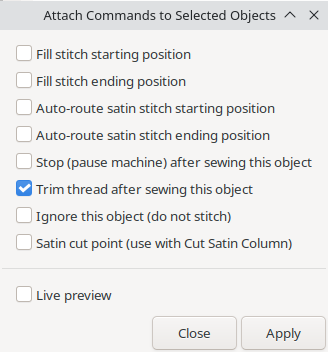
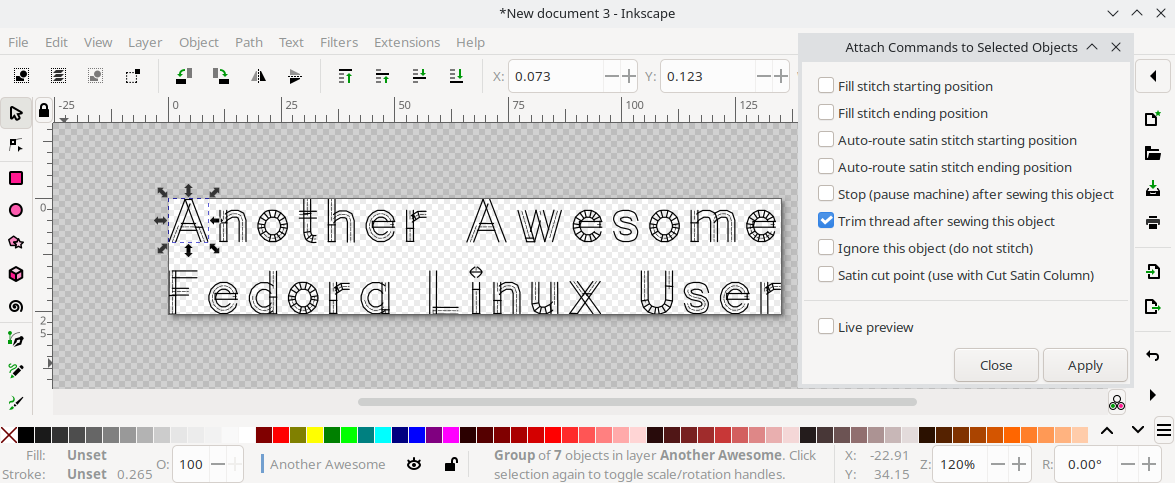
Add jump instructions by selecting View>Zoom>Zoom Page to enlarge the view of the drawing. Press s to choose the Select and transform objects tool. Choose Extensions>Ink/Stitch>Commands>Attach Commands to Selected Objects. A dialog box should appear, check just the Trim thread after sewing this object option.
Then click in the drawing area and select the first letter of the text
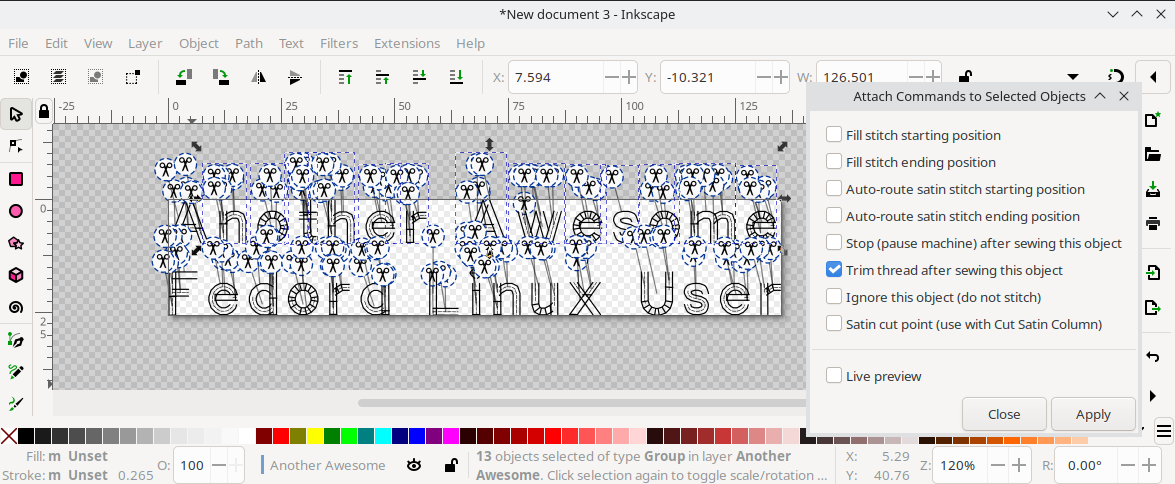
Then click Apply, and some cut symbols should appear above the letter.

Repeat this process for all letters.
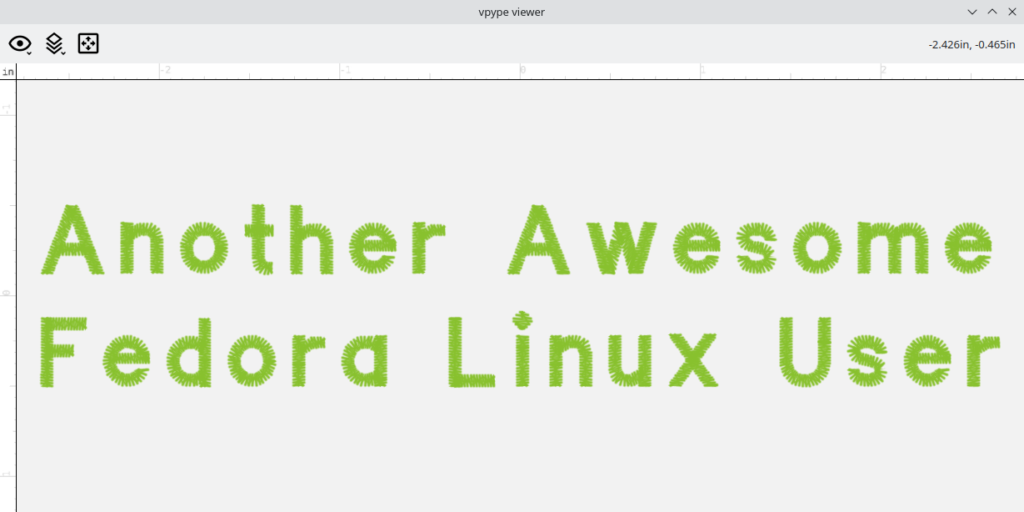
Now save your design, as before, in both SVG and DST formats. Check the likely quality of the embroidered text by previewing your DST file (in this case named AnotherAwesomeFedoraLinuxUserBack.dst – replaced this by the filename you chose), using
vpype eread AnotherAwesomeFedoraLinuxUserBack.dst show
Check the dimensions of your design, if you need to resize it, you should resize the SVG design file before exporting it as a DST file.
Create a Mockup
To show the approximate placement of your design on the polo shirt create a mockup. You can then send this to an embroidery company with your DST file. The Fedora Design Team has a wiki page with examples of mockups. An example mockup made using Kolourpaint is below.
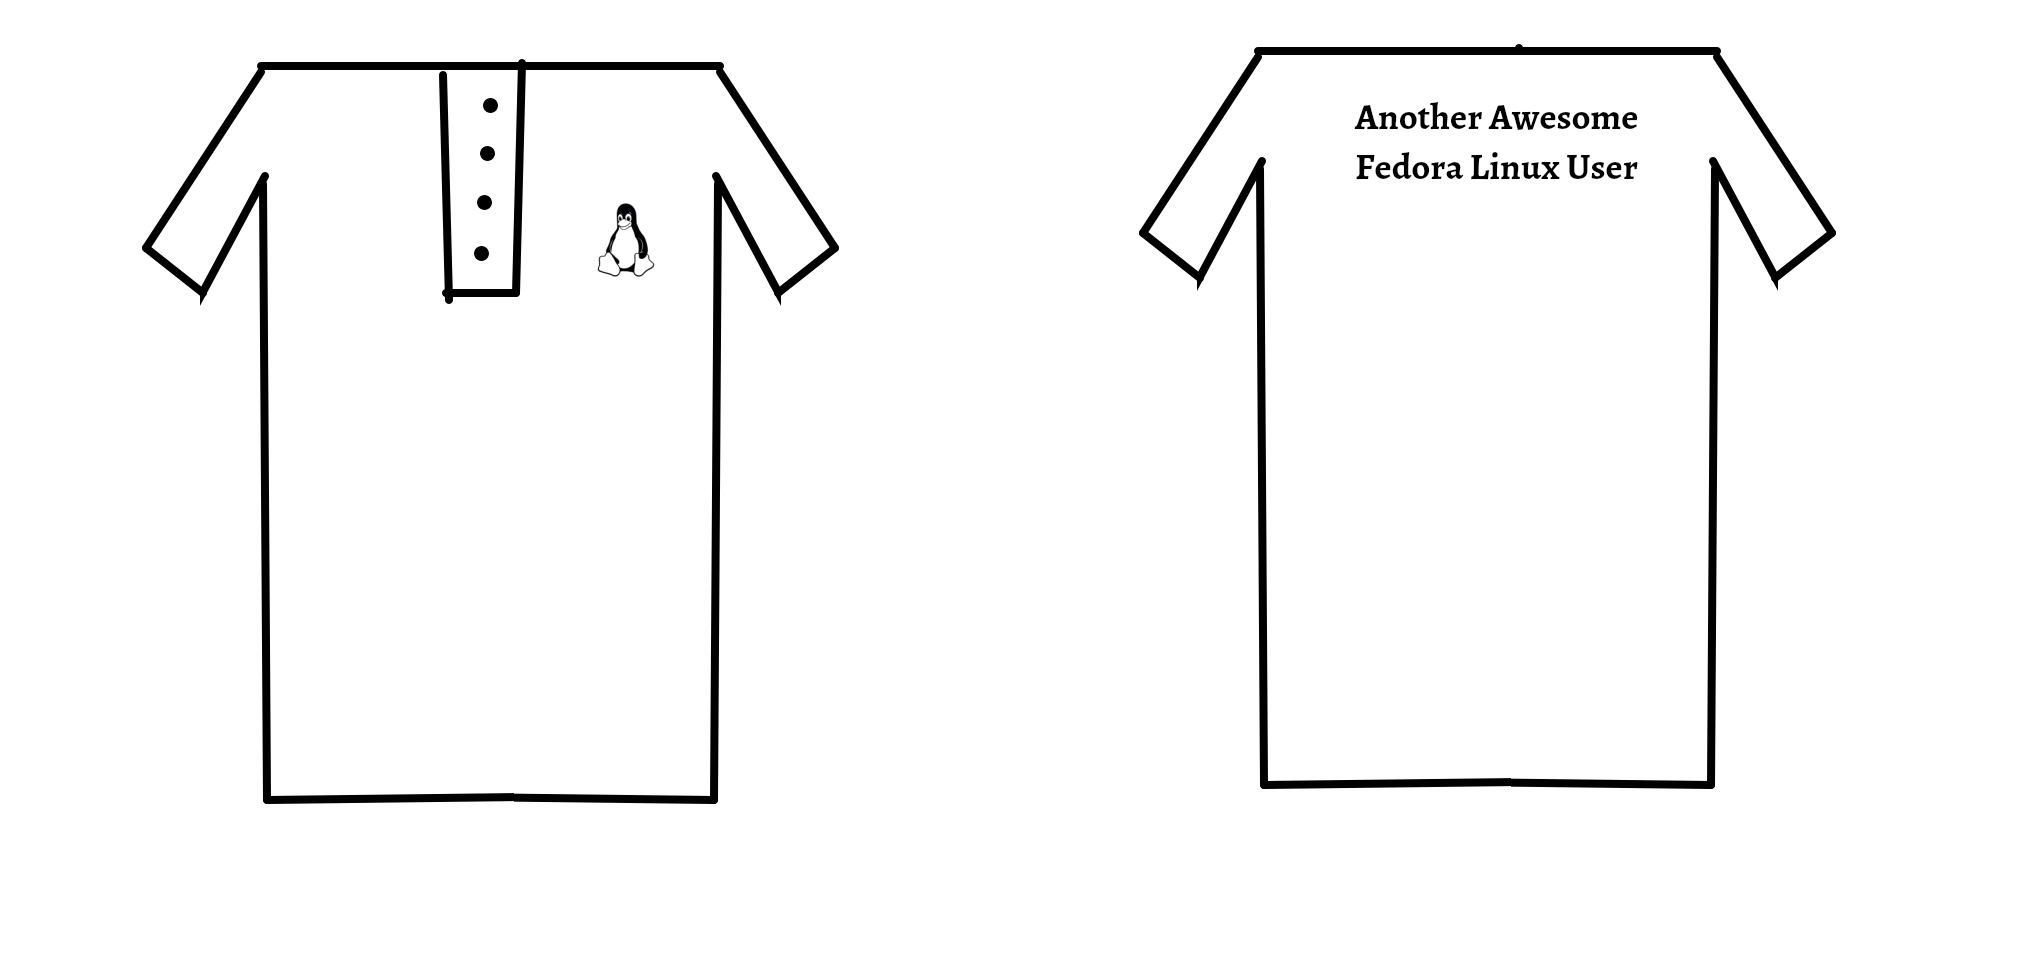
You can also use an appropriately licensed drawing of a polo shirt, for example from Wikimedia Commons.
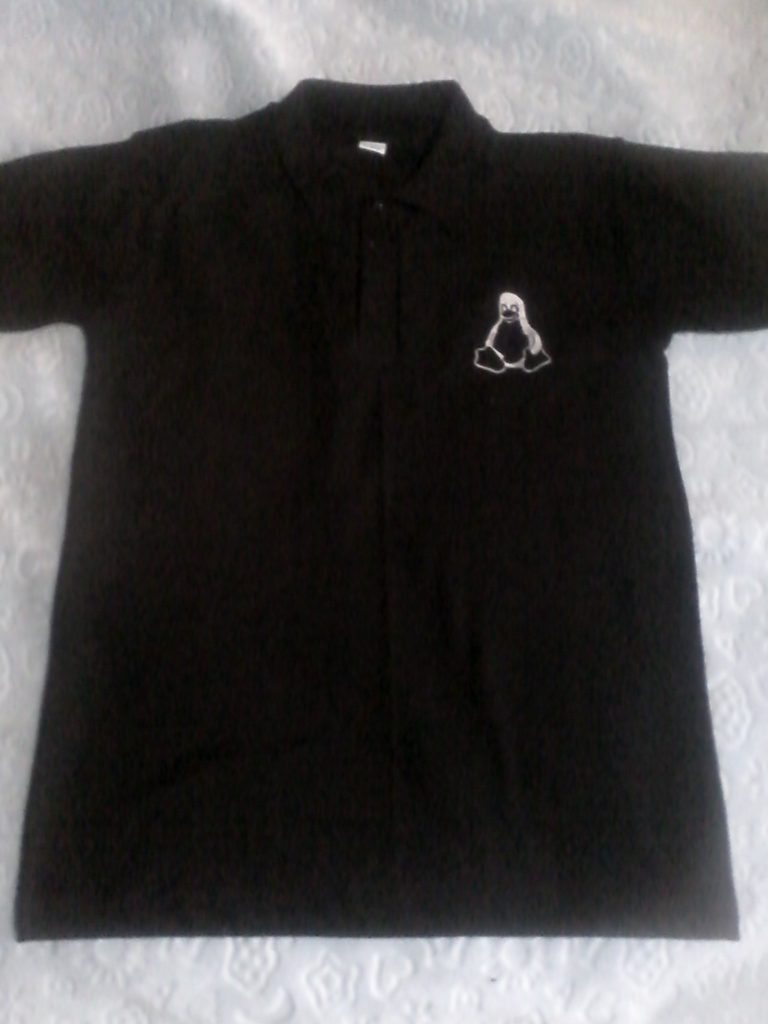
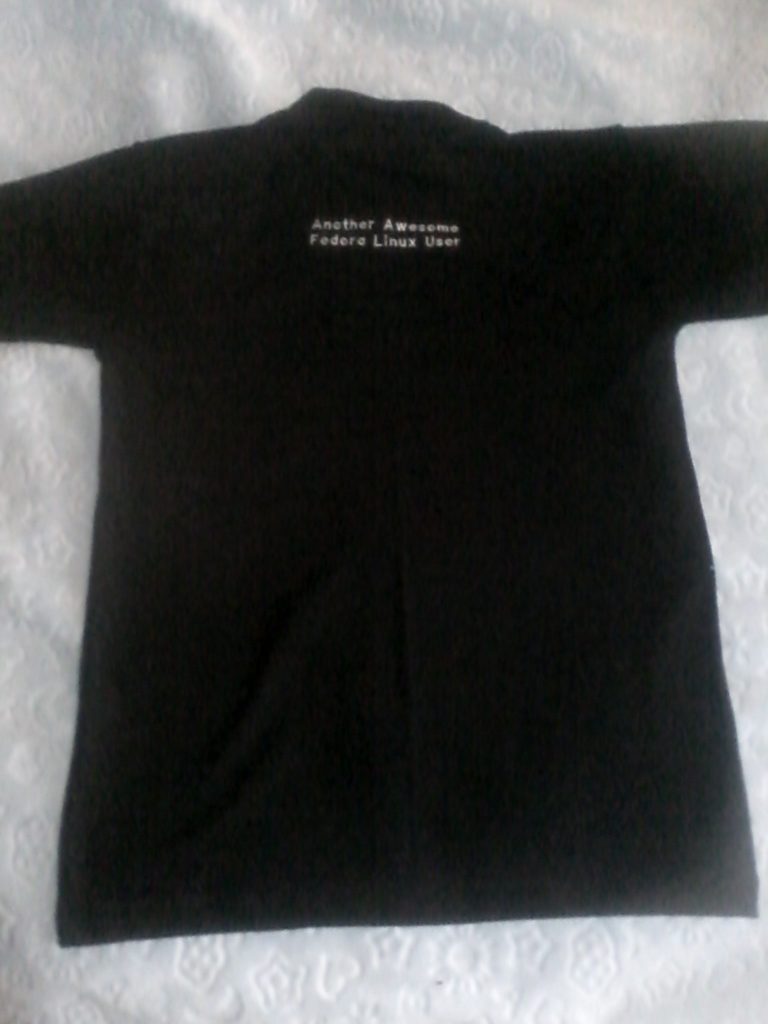
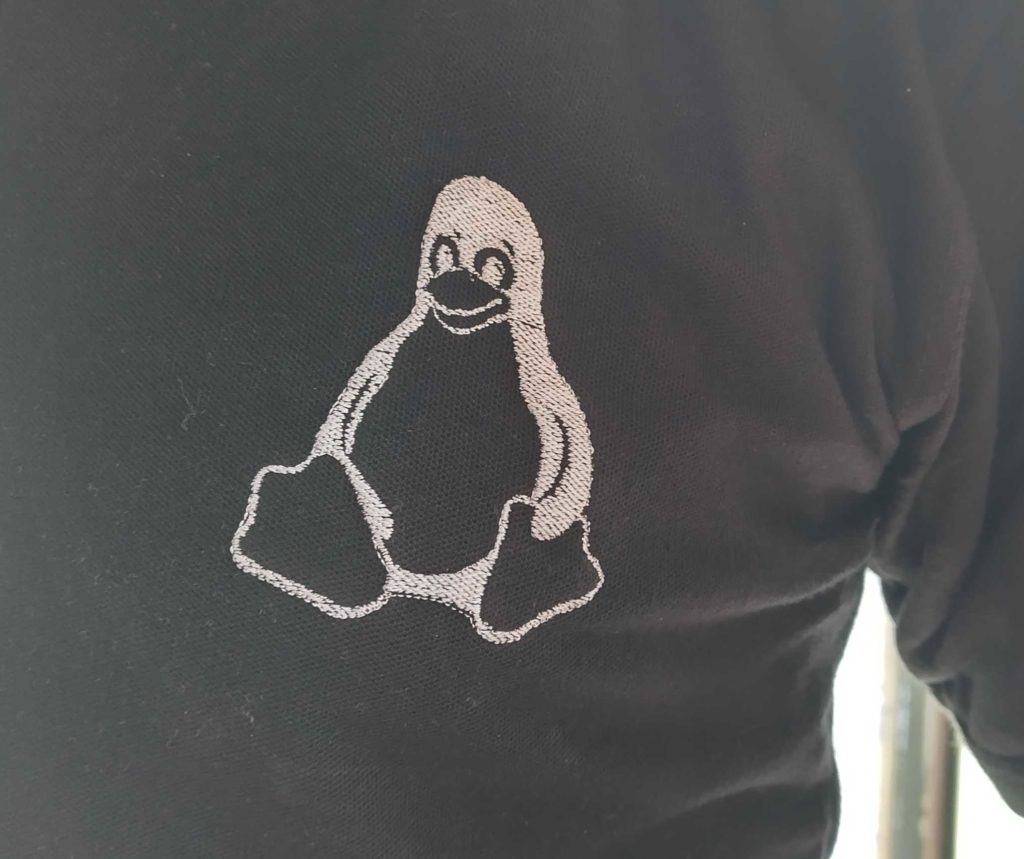
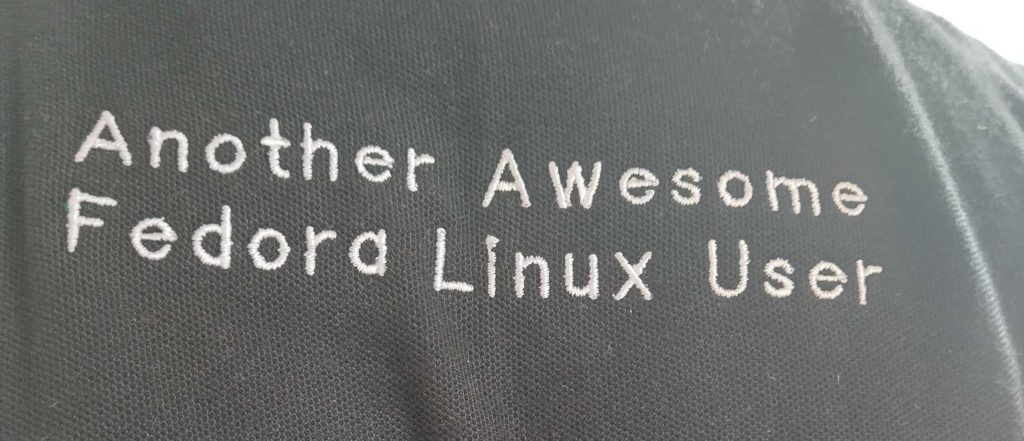
Example Shirt
Pictures of a finished embroidered polo shirt are below
Further Information
A three color image of Tux is also available, but single colors are easiest to achieve good embroidered results with. Adaptation of this shaded multiple color image is required to use it for embroidery. Additional tutorial information is available on the Ink/Stitch website.
Some companies that can do embroidery given a DST file include:
- Pappagallo Clothing Industry based in Cyprus
- Target Solutions based in Ghana
- Marvel Ark based in Kenya
- Core Digital based in South Africa
- Embroidery Your Way based in the USA
Search the internet for machine embroidery services close to you or a hackerspace with an embroidery machine you can use.
This article has benefited from many helpful suggestions from Michael Njuguna of Marvel Ark and Brian Lee of Embroidery Your Way.

newton
estou usando nosso Fedora Plasma ,bem feito rápido ,e melhor ainda respeita o internauta ,realmente nosso Linux tem obrigação de entender e ajudar nas vezes que somos invadido e tiram nossos driver ,Linux talves ou verdade será o unico que ira sobreviver ,e nosso Fedora estara lá sempre
Mehdi Haghgoo
Good article. Thank you
Benson Muite
Glad you liked it.
we3e
where is list of compatibility models hardware?
Benson Muite
Not sure what is meant by this.
Christoph
This is so cool! My Wife has a friend with a small Embroidery Machine (Consumer lvl, not a pro model) and i learned that inkstitch supports the file format.
Can’t wait to try 🙂
Thank your for the article!
Benson Muite
Glad you liked it. It can be helpful to first embroider the design on a small piece of fabric similar to that used for the final garment to check it is ok before embroidering the more expensive garment.
Enric
Duuuude!!!
Love that!!
I’m going to grab a few death metal logos !!! I think there are site where you can make embroidered hoodies and hats!!
\m/
Benson Muite
Awesome. Do check logo permissions. With great power comes great responsibility!
fireboy and watergirl
This is really awesome! My wife has a friend who owns a little embroidery machine, and I discovered that the file format is supported by inkstitch.
Benson Muite
Great. Hope your embroidered items turn out well. Could even make merchandise for your game.