


When hacking with a Raspberry Pi Zero (or similar device), many makers use the General Purpose Input / Output (GPIO) pins. These pins are used to attach and control a wide range of devices such as LEDs or sensors to measure temperature, light, or humidity. However, if you prefer to code on your desktop or laptop this may be an issue since most of these devices don’t have accessible GPIO pins. This is where GPIO expander software can help.
The main goal of GPIO expander software is to use the Raspberry Pi Zero as an USB device connected to a personal computer, where the GPIO pins of the Raspberry Pi Zero will be made available to the host computer.
This article walks through the steps for setting up and using the GPIO expander software with a Raspberry Pi Zero on Fedora.
Connect the Raspberry Pi Zero
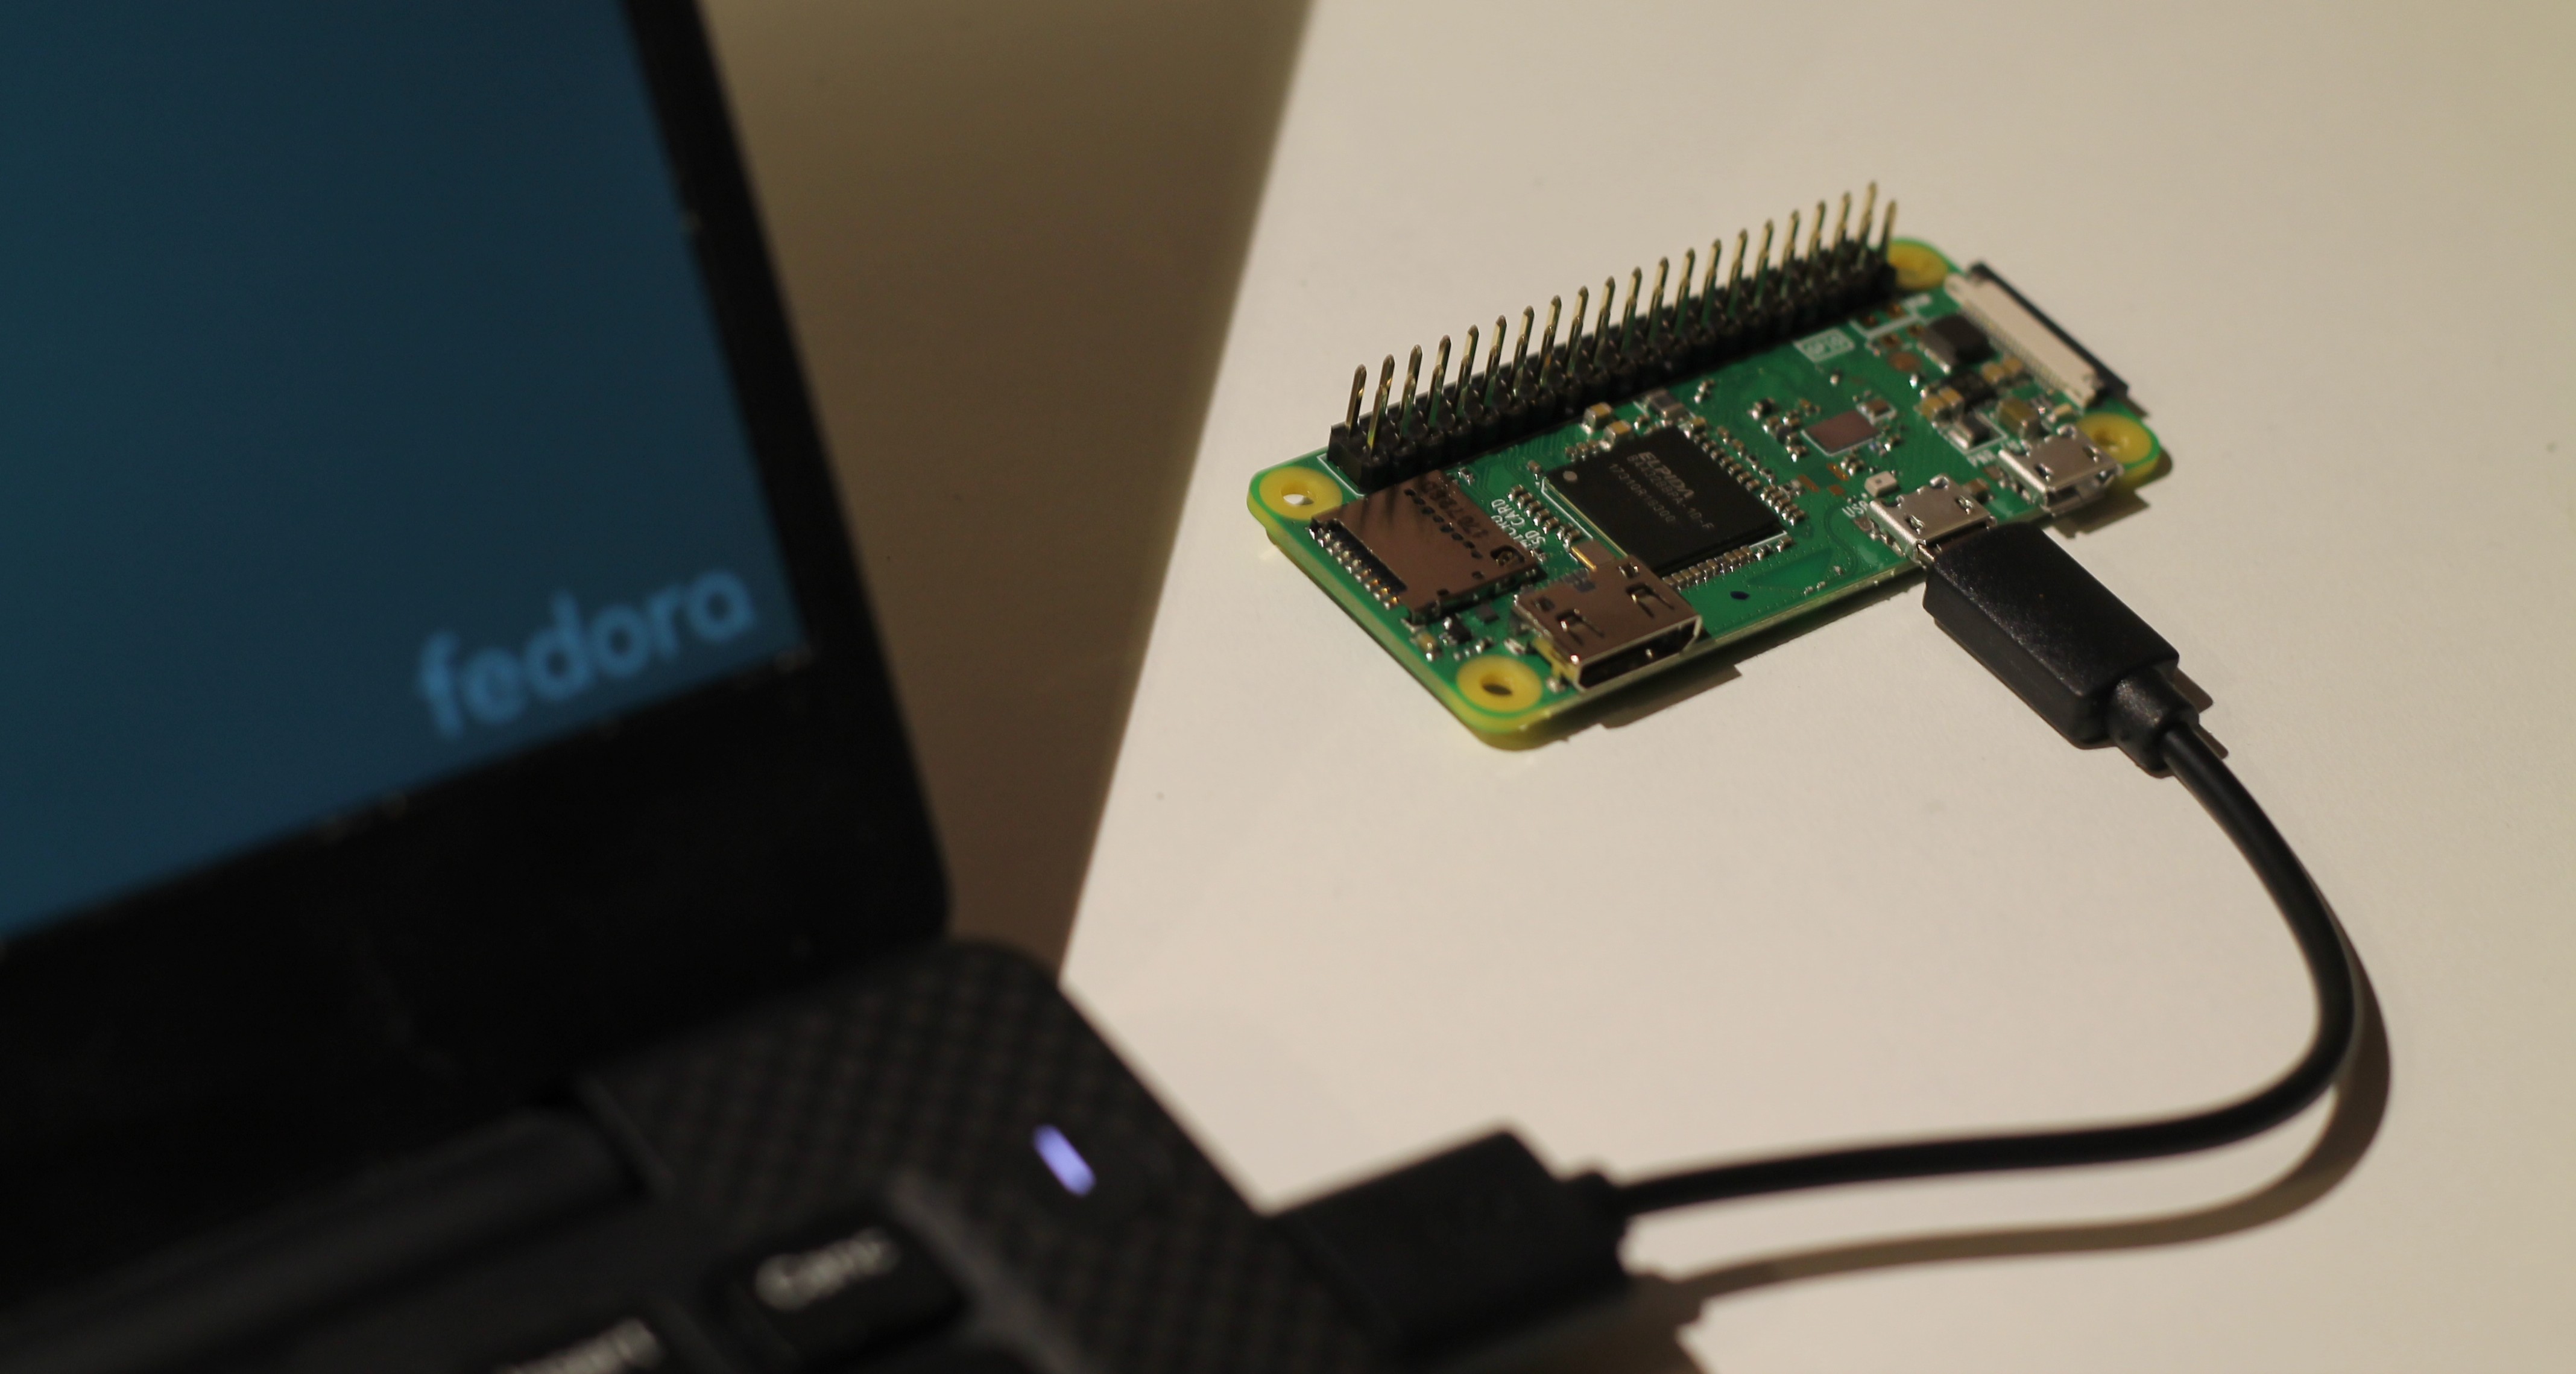
Connect the micro USB port (not the one labelled PWR) of the Raspberry Pi Zero to your computer. Once connected, run the lsusb command, and a new USB device like this should appear:
Bus 004 Device 005: ID 0a5c:2763 Broadcom Corp.
Building GPIOexpander
Next, we are going to build GPIOexpander from source. Install the following build dependencies using dnf:
sudo dnf install git gcc bc cmake flex unzip bison gcc-c++ wget patch python2 perl-ExtUtils-MakeMaker perl-Thread-Queue libusb-devel
Then, create a directory for the sources and check them out using git
$ mkdir ~/pi_hacking
$ cd ~/pi_hacking
$ git clone --depth 1 https://github.com/raspberrypi/gpioexpander.git
$ git clone --depth=1 https://github.com/raspberrypi/usbboot
Next, build GPIOexpander:
$ cd ~/pi_hacking/gpioexpander
$ ./build.sh
Finally, build usbboot.
$ cd ~/pi_hacking/usbboot
$ make
usbboot is responsible to boot the Raspberry from the host device (your PC) via USB (like booting a computer via an external mass storage) loading a very bare minimal system, while gpioexpander emulates an USB Ethernet dongle and runs the pigpiod daemon on the Raspberry Pi Zero.
Finalize the setup
Now, change back to the usbboot git checkout, and issue this command:
$ cd ~/pi_hacking/usbboot
$ sudo ./rpiboot -d ../gpioexpander/output
You should see some messages looking like a boot process. Once finished, look at the network interfaces on your PC, using the “ifconfig” command. A new network interface named similar to “enp0s20f0u1i2” with an IPv6 address assigned to it. Try pinging the Rasperry Pi Zero, where enp0s20f0u1i2 is the name of the interface created on your computer
$ ping6 fe80::1%enp0s20f0u1i2
Next, install the gpiozero Python package, and export the following bash variables:
Note: replace enp0s20f0u1i2 with the name of the interface created on your computer:
$ pip3 install gpiozero --user
$ export GPIOZERO_PIN_FACTORY=pigpio
$ export PIGPIO_ADDR=fe80::1%enp0s20f0u1i2
Test it out
Connect a LED to pin 20 (GPIO 25), start python3, and issue the following python code to make the LED blink:
$ python3
>>> from gpiozero import LED
>>> led = LED(25)
>>> led.blink()
The LED should blink. Awesome!
Now you can use the power of your Fedora workstation to use the Raspberry Pi Zero GPIO pins. Please note that you are limited to the GPIO Zero Python library and you can not use, for instance, the RPi.GPIO one. However the aim of this tool is to provide a simple to use system, useful for teaching sessions and experiments without the need of a network or a monitor, a power supply, a keyboard and a mouse in order to use the GPIO pins directly from a laptop or a workstation.

Jason K
This was a great article. Combined with the documentation for gpiozero, I was able to have a Pi Zero control a motor based on input from a temperature sensor. Might be nice to folow up with either articles on how to use other hardware with fedora – like the ACR122U for NFC cards , or perhaps integration with other system features (like integration via a PAM module or using notify-send and zenity to handle input and output).
David Demelier
I thought the Zero w were not supported as stated in the documentation ?
https://fedoraproject.org/wiki/Architectures/ARM/Raspberry_Pi?rd=Raspberry_Pi#What_about_support_for_the_Raspberry_Pi_Models_A.2FA.2B.2C_B.2FB.2B_.28generation_1.29.2C_Zero.2FZeroW_and_Compute_Module.3F
Alessio
In fact. Using GPIO expander you are not installing Fedora on the RPi Zero. You are using the RPi zero as an USB device, like a GPIO USB device accessible from your Fedora workstation.
David Demelier
Okay I’ve misunderstood, I didn’t know we could use raspberry as USB devices as well. That’s nice!
Jaša B.
David, that wiki page says Fedora itself does not RUN on ARMv6 CPUs, such as the Zero uses. You can still communicate with a Zero using a computer that Fedora does run on, suck as the laptop from the photograph in the article.
Andy Green
At least on RPi3, for GPIO control from eg, scripts, you need to install libgpiod-utils from Fedora now because the old GPIO sysfs interface is deprecated and disabled in Fedora kernels. There’s no need to build anything.
This comes with C utilities like gpioset that replace the old sysfs stuff and give you more features, like autotimed gpio strobing.
https://git.kernel.org/pub/scm/libs/libgpiod/libgpiod.git/tree/README
Rene Reichenbach
Thx for this nice tutorial! Will help some teachers and pupil to get started.
Small issue with the text :
$ git clone –depth 1 https://github.com/raspberrypi/gpioexpander.git
$ git clone –depth=1 https://github.com/raspberrypi/usbboot
and may decide for “–depth=1” or “–depth 1”
Alessio
“–depth 1” is the syntax you can find in the git manual. Btw “–depth=1” it works as well.